
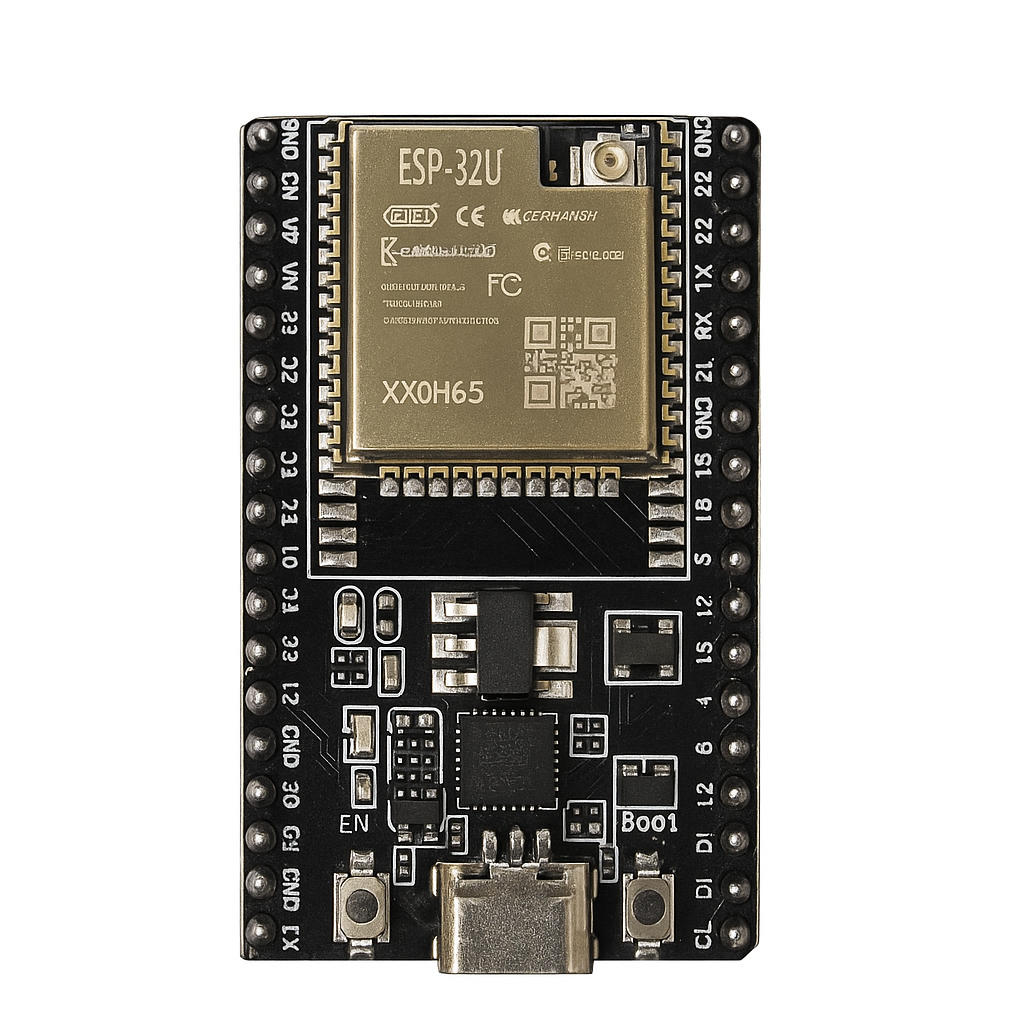
What you'll build: a small Wi-Fi weather station that exposes a JSON endpoint with live temperature + humidity, plus a tiny HTML page you can open from any phone on your network.
Parts list
- ESP32 DevKit V1 board (any clone is fine)
- DHT22 temperature + humidity sensor (DHT11 also works, but lower accuracy)
- 10kΩ resistor (pull-up between DATA and 3.3V)
- Breadboard + 3 male-to-male jumper wires
- Micro-USB cable for power + flashing
Wiring (DHT22 facing you, pin 1 on the left)
- Pin 1 (VCC) → ESP32 3.3V
- Pin 2 (DATA) → ESP32 GPIO4, with a 10kΩ pull-up to 3.3V
- Pin 3 (NC) → leave unconnected
- Pin 4 (GND) → ESP32 GND
Step 1 — Install Arduino IDE + the ESP32 board package. In Boards Manager search 'esp32' and install the Espressif package.
Step 2 — From Library Manager, install 'DHT sensor library' by Adafruit and its dependency 'Adafruit Unified Sensor'.
Step 3 — In the sketch, set your Wi-Fi SSID/password, start an async WebServer on port 80, and serve '/' (HTML page) and '/api' (JSON).
Step 4 — Inside loop(), call dht.readTemperature() and dht.readHumidity() every 2 seconds. The DHT22 cannot be polled faster than that.
Step 5 — Open the Serial Monitor at 115200 baud, copy the IP it prints, and visit it from your phone.
Troubleshooting
- 'nan' readings → most often a missing pull-up resistor or a too-fast loop. Add the 10kΩ and a 2s delay.
- Wi-Fi won't connect → ESP32 only supports 2.4GHz networks; check your router.
- Random reboots → power your ESP32 from a real USB charger, not a low-current laptop port.
Next steps: log readings to ThingsBoard / Home Assistant via MQTT, add a BMP280 for pressure, or run it on a 18650 cell + TP4056 charger and deep-sleep between readings for weeks of battery life.