WiFi-controlled switch
Join your network, run a small web server on the board, and serve a page with a button that toggles the relay. The board's own IP becomes the address you open from a phone on the same network. This is the project most people buy an ESP32 for, and it is the first time the thing you built is reachable from somewhere else in the house.
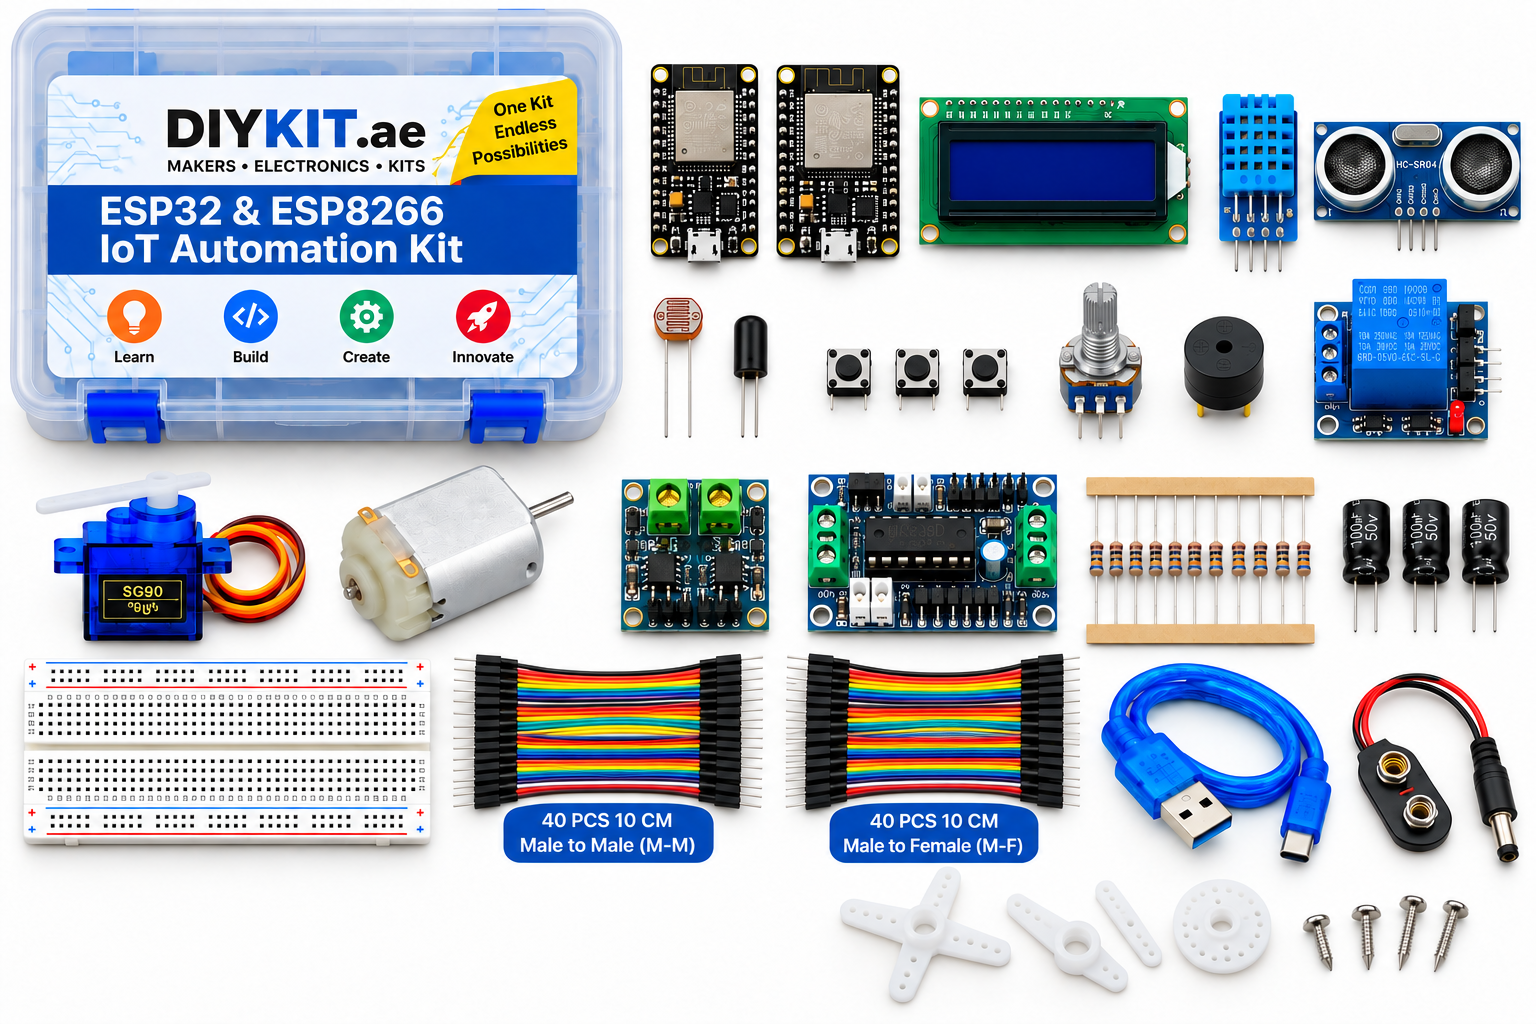
What this project uses
Every item is in the kit — nothing extra to buy.
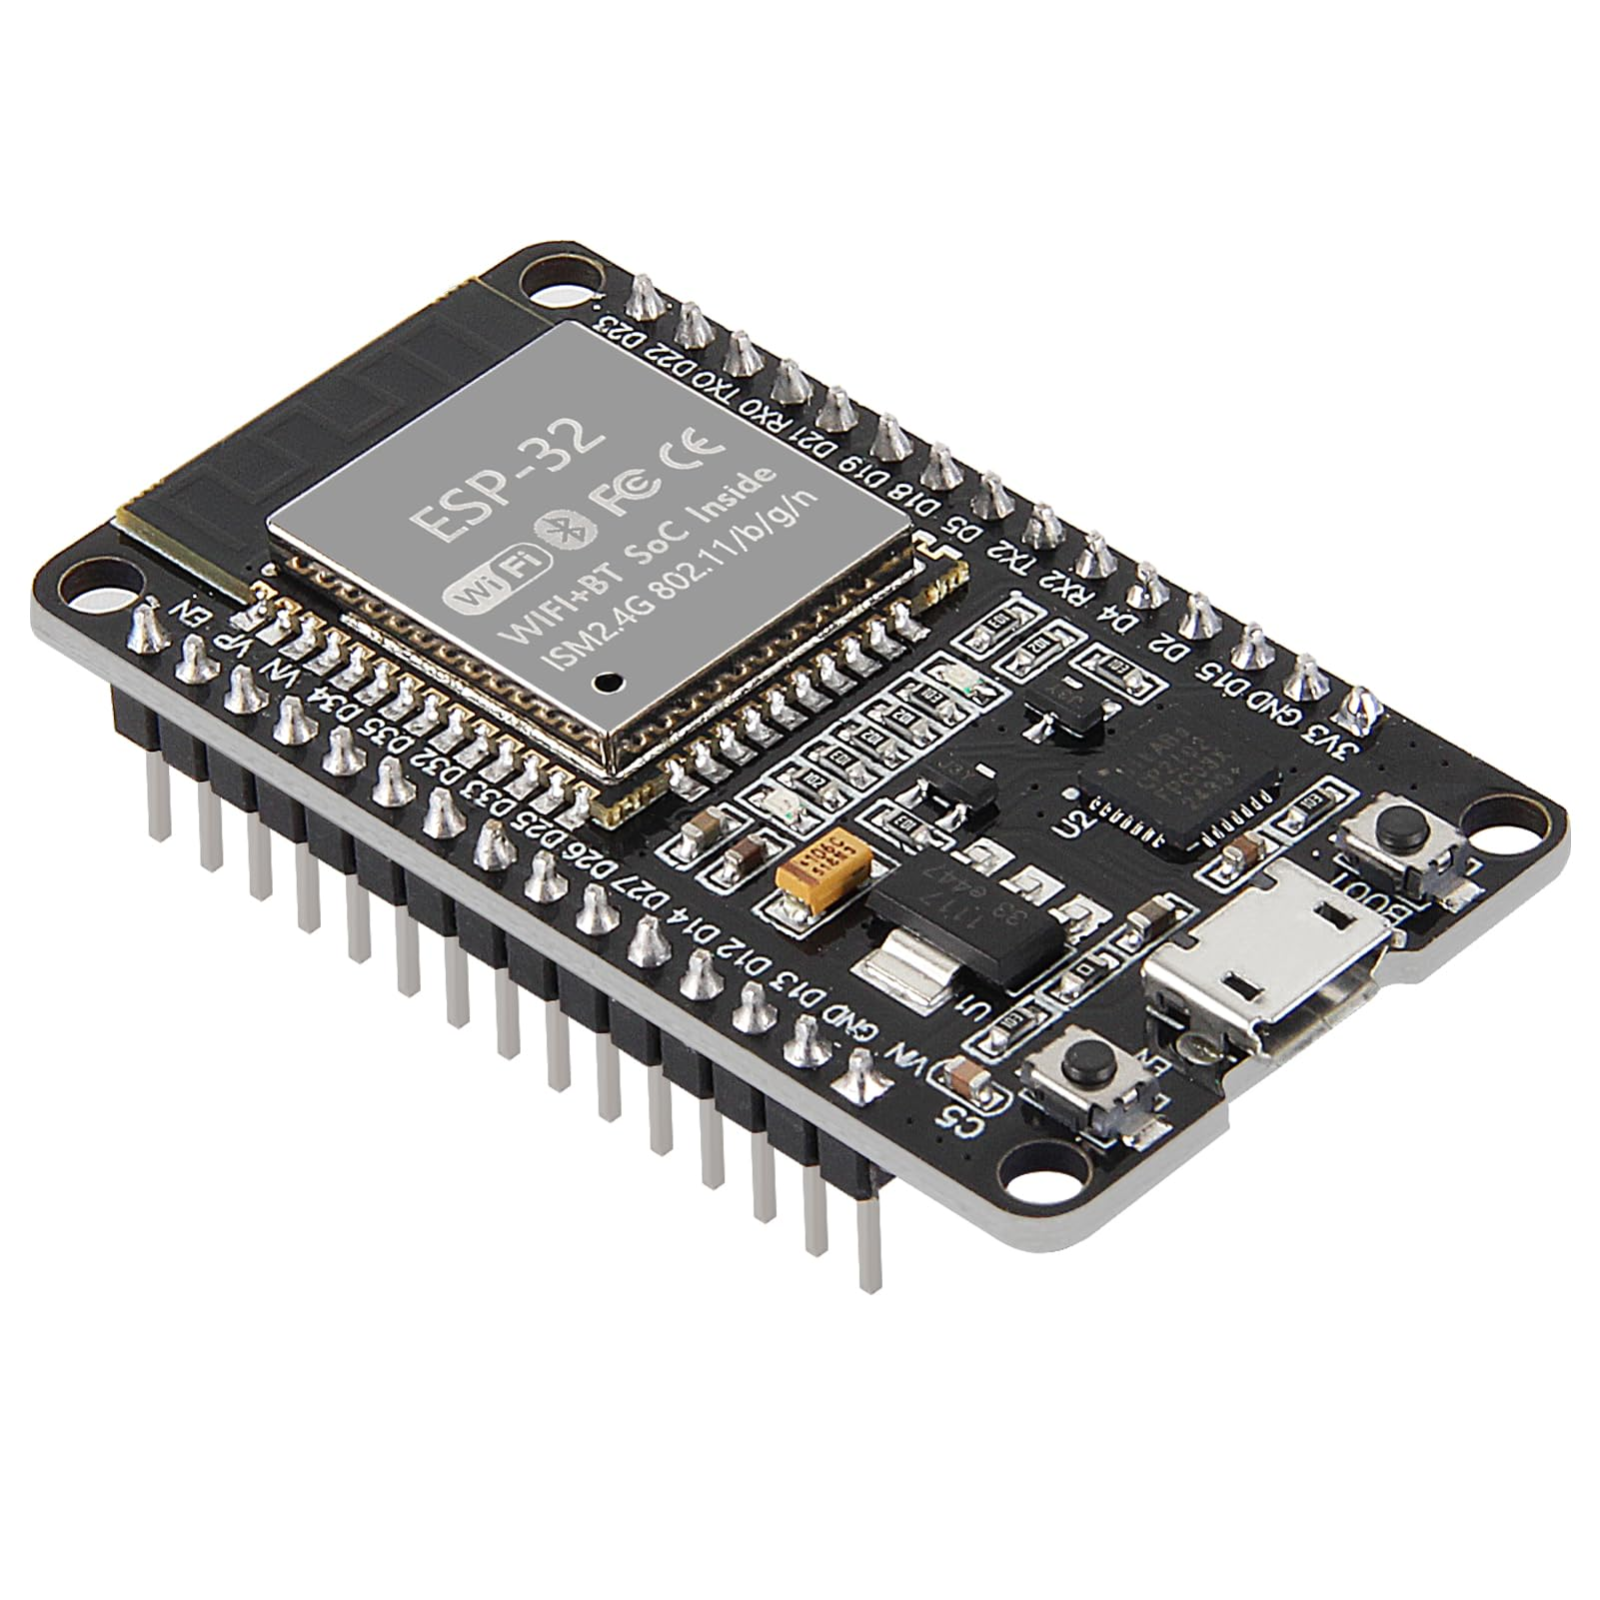
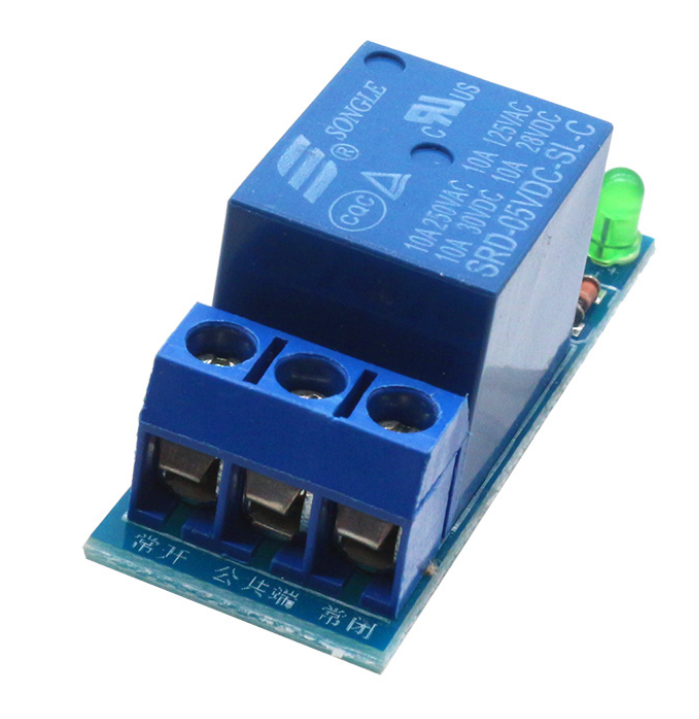
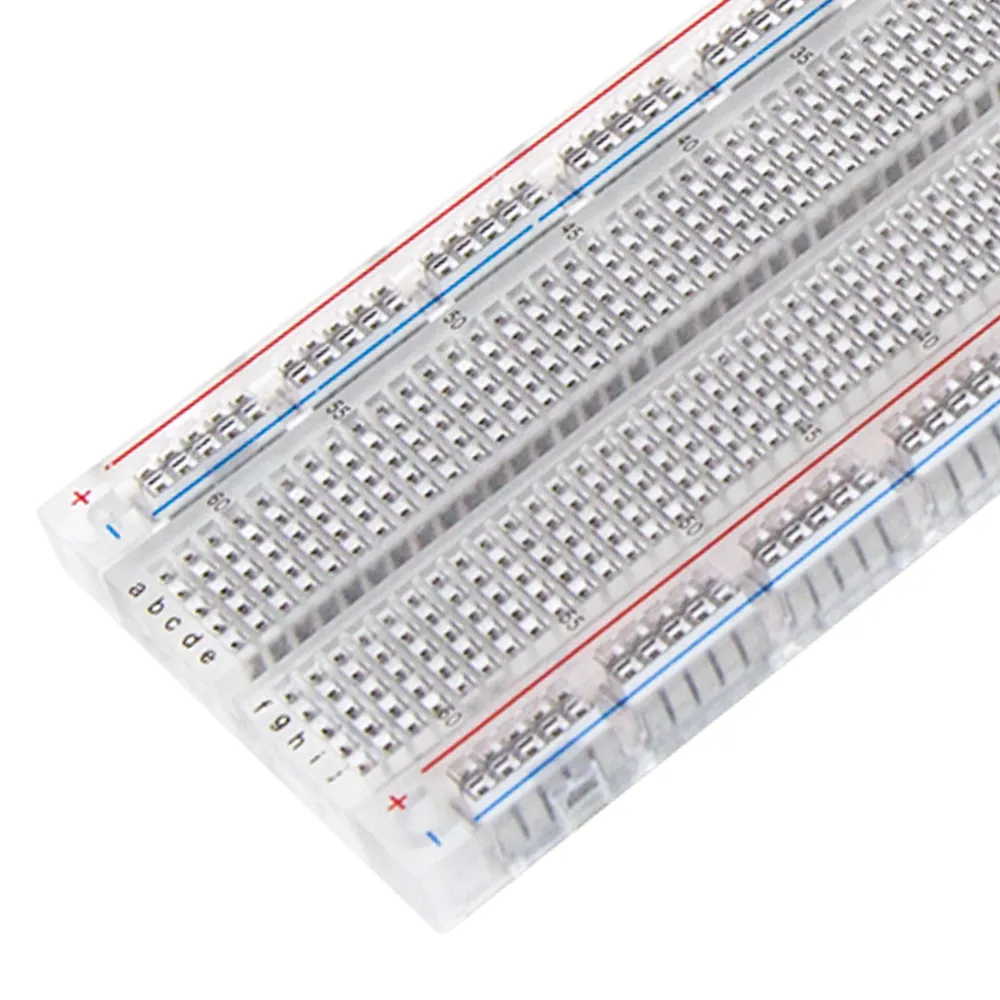



ESP32 & ESP8266 IoT Automation Kit
All 24 parts in one box, with this project and 15 more to build from them.
Need only these parts? Order them loose · from AED 104.99
One of each part. Packs (resistor assortment, jumper wires) already hold more than a single build needs. Backorder parts ship once they arrive — the kit above has every part boxed today. Delivery is free on orders AED 150.00+.
Sketch for this project
Written for the board in the kit. Copy it into the Arduino IDE; change the pin numbers if you wire it differently.
/*
  14 — WiFi-controlled switch
  Board: ESP32.  Parts: relay module, breadboard, jumper wires. No extra library.

  Wiring:
    Relay: VCC -> VIN (5 V), GND -> GND, IN -> GPIO 26   (low-level trigger: LOW = on)
           Load on COM + NO. Low voltage on the bench.

  Join your network, run a small web server on the board, and serve a page with
  a button that toggles the relay. The board's own IP (printed on Serial) is the
  address you open from a phone on the same network. This is the project most
  people buy an ESP32 for.
*/

#include <WiFi.h>
#include <WebServer.h>

const char* WIFI_SSID = "YOUR-WIFI-NAME";
const char* WIFI_PASS = "YOUR-WIFI-PASSWORD";
const int   RELAY_PIN = 26;

WebServer server(80);
bool relayOn = false;

void applyRelay() { digitalWrite(RELAY_PIN, relayOn ? LOW : HIGH); }

String page() {
  String s = "<!doctype html><html><head><meta name=viewport content='width=device-width,initial-scale=1'>"
             "<title>ESP32 switch</title><style>body{font-family:sans-serif;text-align:center;padding:40px}"
             "a{display:inline-block;padding:24px 48px;font-size:28px;border-radius:12px;color:#fff;text-decoration:none}"
             ".on{background:#0a7f4f}.off{background:#555}</style></head><body>";
  s += "<h1>Relay is " + String(relayOn ? "ON" : "OFF") + "</h1>";
  s += relayOn ? "<a class=off href='/off'>Turn OFF</a>" : "<a class=on href='/on'>Turn ON</a>";
  s += "</body></html>";
  return s;
}

void setup() {
  Serial.begin(115200);
  pinMode(RELAY_PIN, OUTPUT);
  applyRelay();

  WiFi.mode(WIFI_STA);
  WiFi.begin(WIFI_SSID, WIFI_PASS);
  Serial.print("Connecting");
  while (WiFi.status() != WL_CONNECTED) { delay(500); Serial.print("."); }
  Serial.println();
  Serial.print("Open http://"); Serial.println(WiFi.localIP());

  server.on("/",    []() { server.send(200, "text/html", page()); });
  server.on("/on",  []() { relayOn = true;  applyRelay(); server.sendHeader("Location", "/"); server.send(303); });
  server.on("/off", []() { relayOn = false; applyRelay(); server.sendHeader("Location", "/"); server.send(303); });
  server.begin();
}

void loop() {
  server.handleClient();
}More from this kit
Live web dashboard
Serve a page showing temperature, humidity and light level, refreshing on its own so you never reload it. You will meet the reason embedded web work is fiddly: the board…
Two-board sensor network
The NodeMCU sits with the sensor and posts its readings over WiFi; the ESP32 receives them and puts them on the LCD. Both boards run at once, so power one from USB and t…
Blink and read a button
Both boards carry an onboard LED, so your first sketch needs no wiring at all — blink it, change the timing, watch it obey. Then add a tactile switch to a GPIO pin with…