Lesson 7: Parking Assistant & Sensor Dashboard
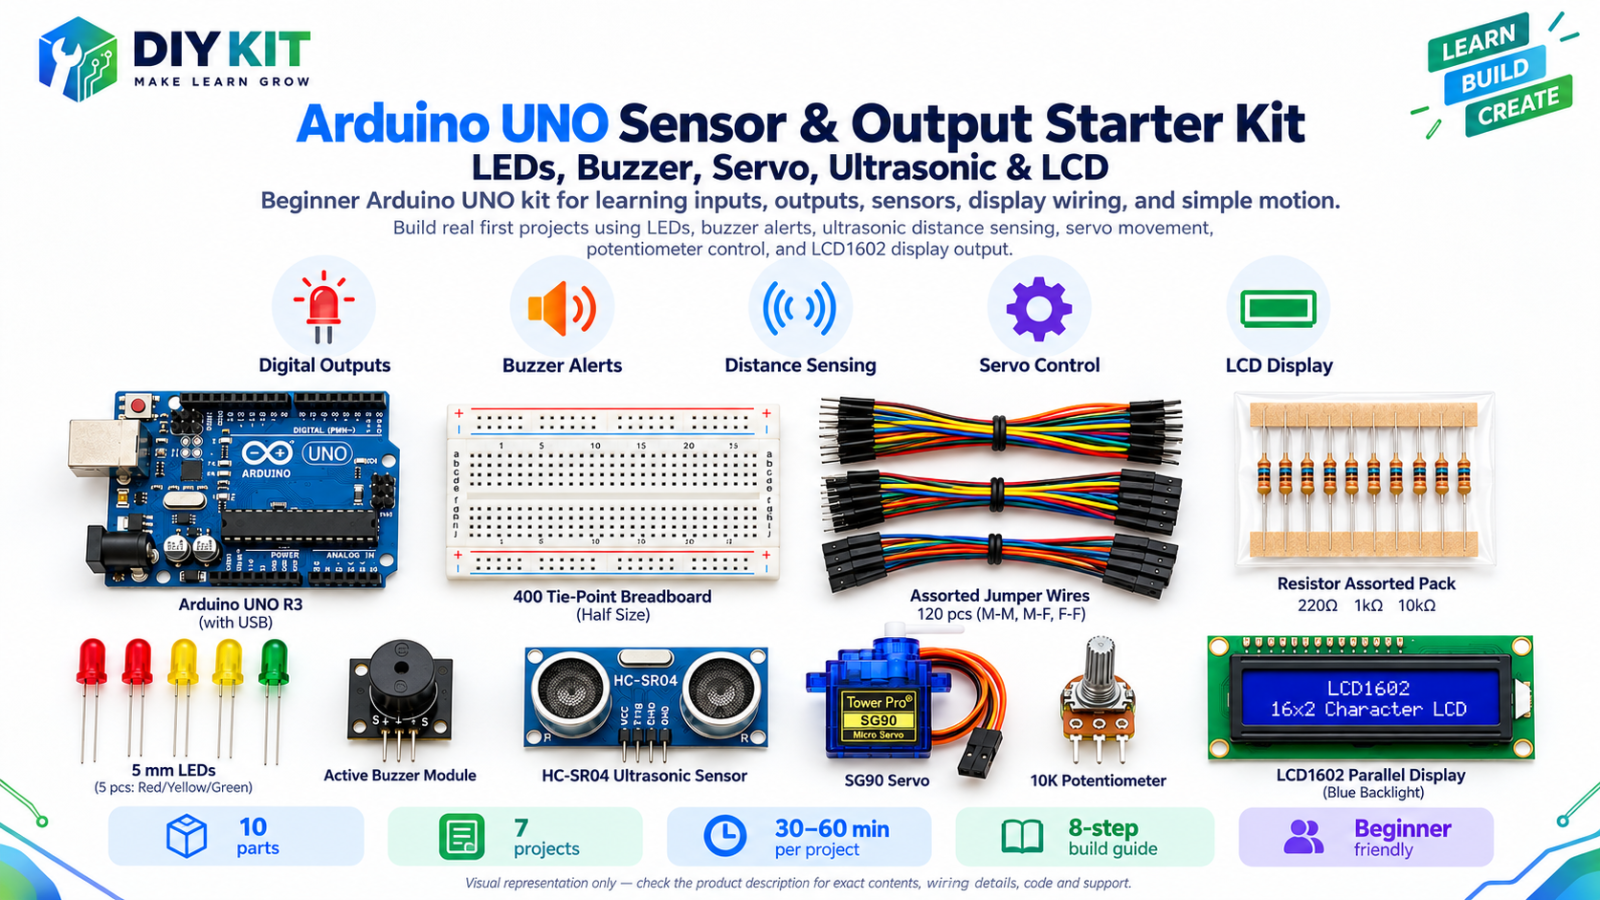
The final build uses every part: green, yellow and red LEDs show how close an object is, the buzzer warns when it is too close, the LCD shows the distance and the servo swings like a gauge needle.
Before you start
- Connecting the separate 5V servo supply
Exact parts
| Part | How many |
|---|---|
| Everything from Lessons 1-6 | all |
| Separate regulated 5V supply for the servo, with wires (recommended, not in the box) | 1 |
Not in the box
- Recommended: a separate regulated 5V supply for the servo, with wires to connect it (not in the box)
What you build and learn
- Combining inputs and outputs into one system
- Making decisions with if and thresholds
- Turning a distance into a gauge angle
- Testing a system one part at a time
Every loop the sketch measures the distance, works out the zone and updates everything: 25 cm or more is green, 10-24 cm is yellow, under 10 cm is red with the buzzer.
The same distance, limited to 5-50 cm, becomes a servo angle, so the arm moves like a fuel-gauge needle. The LCD shows the distance and the angle.
If no echo comes back, the LCD shows --, all the LEDs and the buzzer go off and the servo goes to the middle.
New words
- Threshold
- A number where the behaviour changes - here 10 cm and 25 cm.
- Common ground
- When two power supplies share the same GND, so the signal between them makes sense.
What this project uses
Every item below is in the kit. Not in the box: Recommended: a separate regulated 5V supply for the servo, with wires to connect it (not in the box).

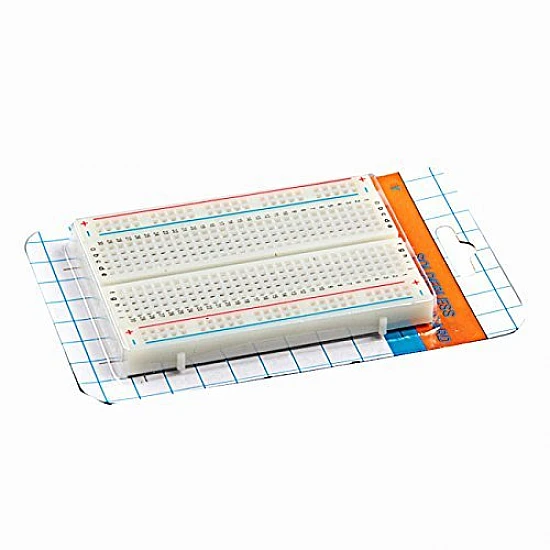
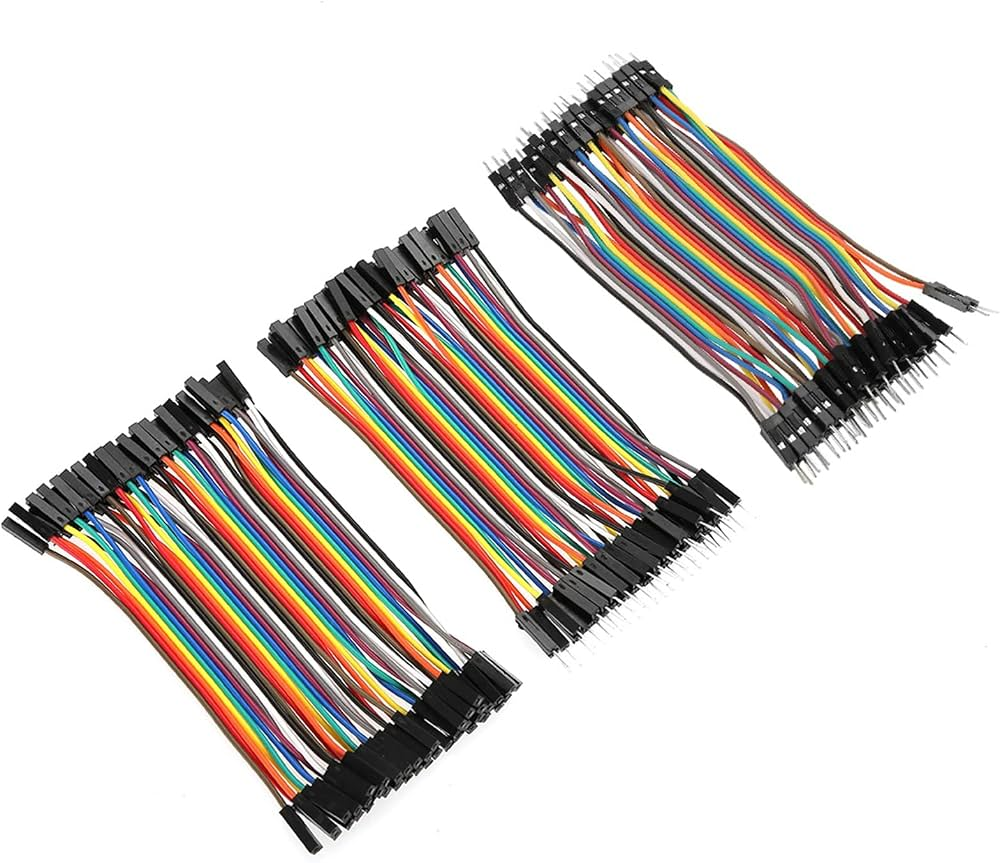
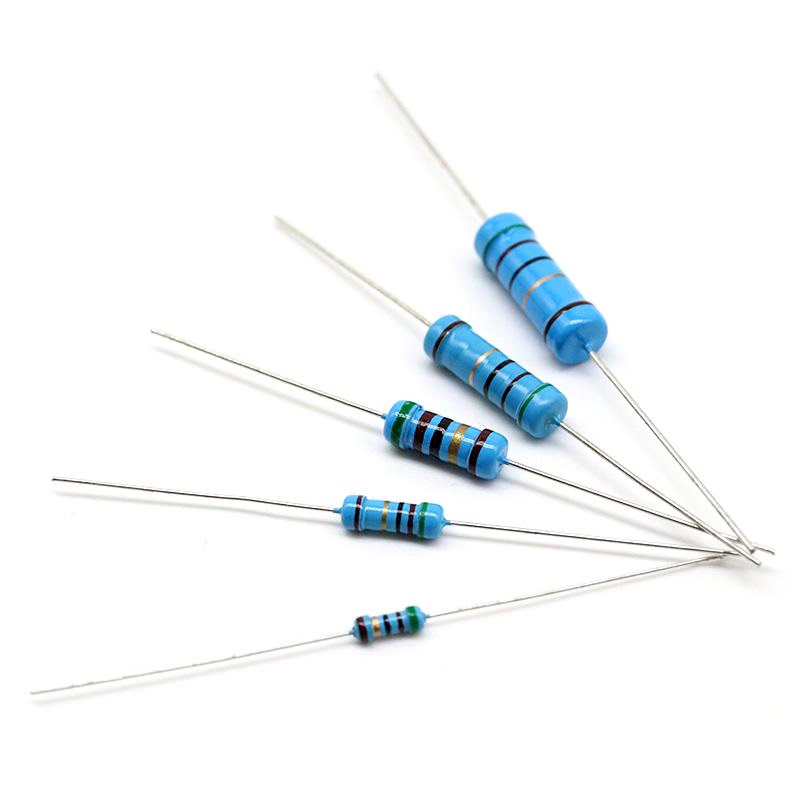

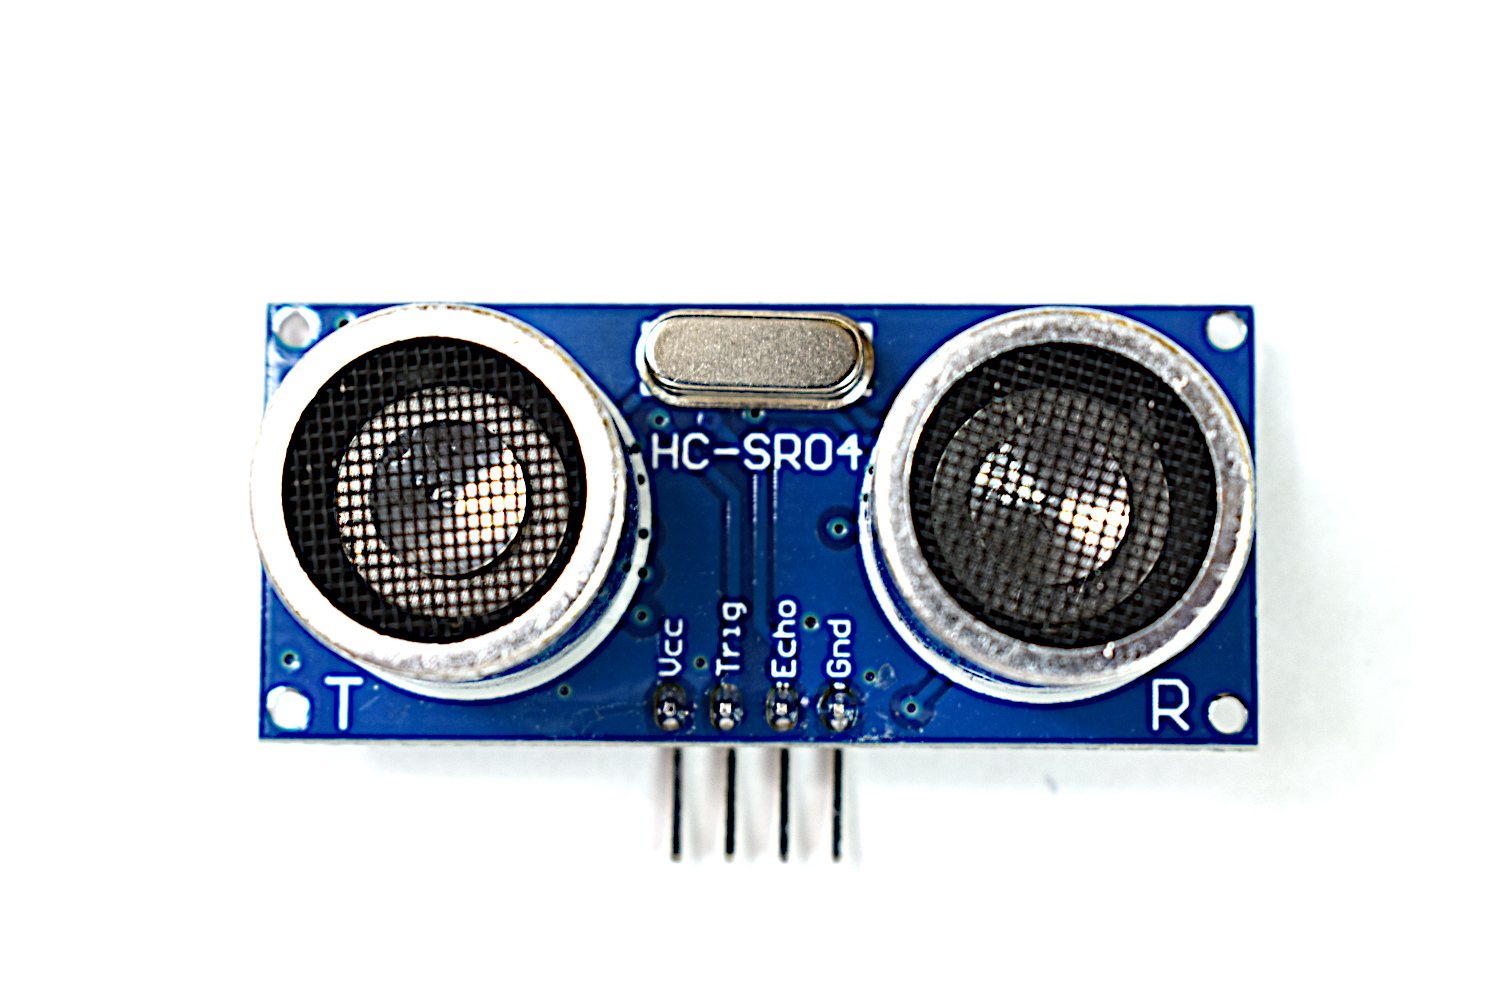

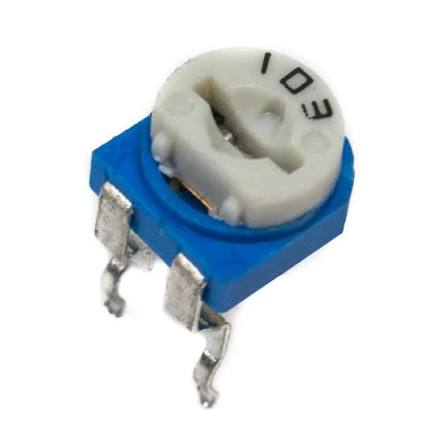
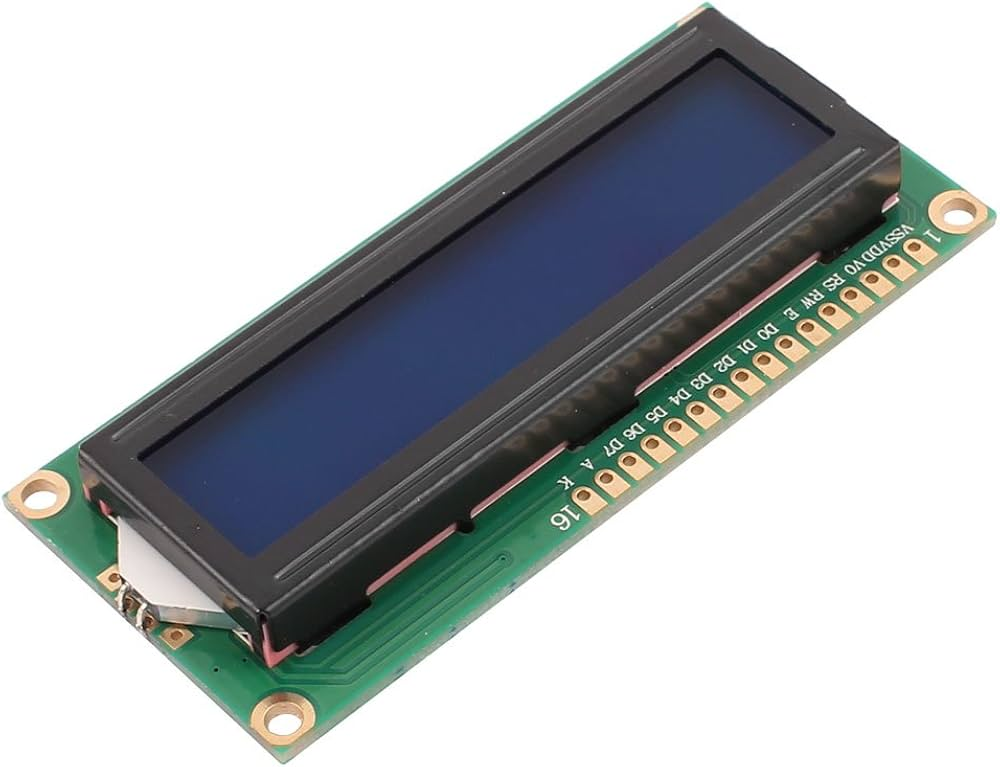
Arduino UNO Sensor & Output Starter Kit - LEDs, Buzzer, Servo, Ultrasonic & LCD
All 10 parts in one box, with this project and 6 more to build from them.
Need only these parts? Order them loose · from AED 138.55
One of each part. Packs (resistor assortment, jumper wires) already hold more than a single build needs. red/yellow/green LEDs: included in the kit, ask us for it loose. Delivery is AED 20, free on orders AED 100+.
Connections
Unplug USB before you change any wire. Pin names are the labels printed on the board.
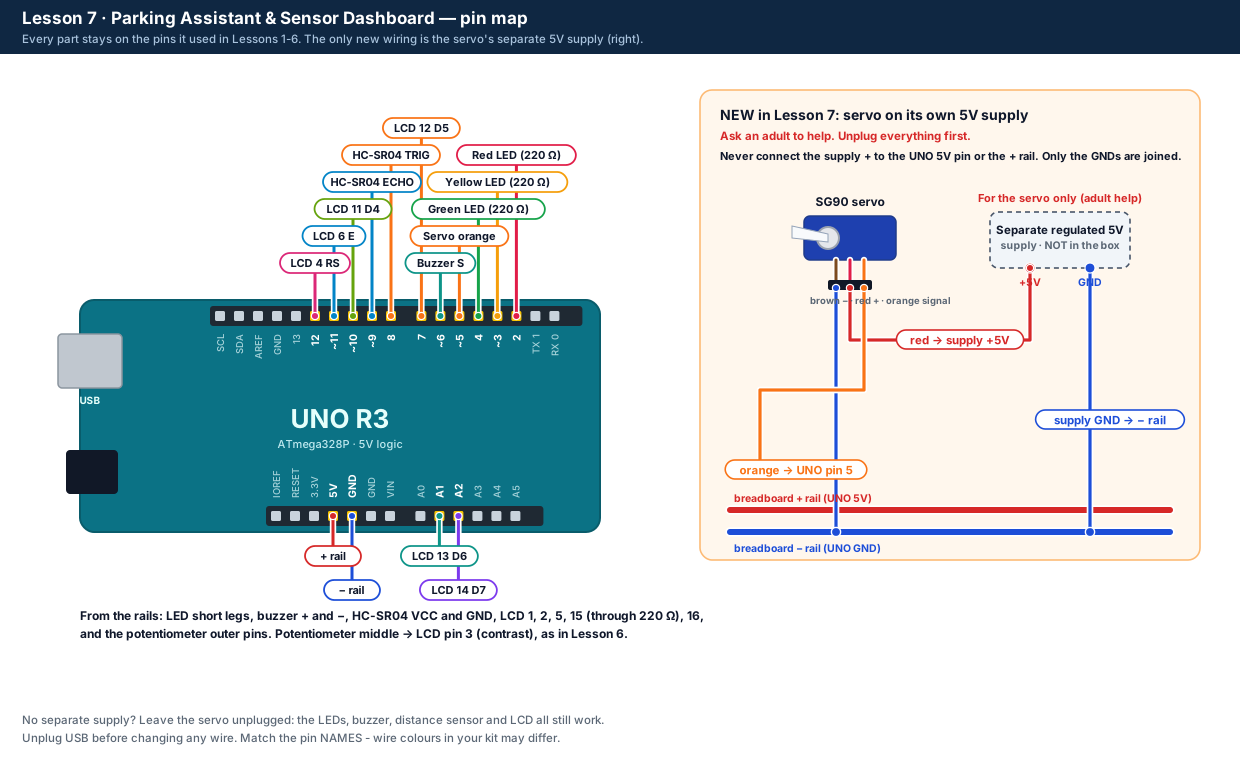
| Part / pin | Connect to | Note |
|---|---|---|
| Red / yellow / green LED (each through 220 Ω) | UNO pins 2 / 3 / 4 | From Lesson 2 |
| Buzzer S | UNO pin 6 | From Lesson 3 |
| HC-SR04 TRIG / ECHO | UNO pins 8 / 9 | From Lesson 4 |
| LCD RS, E, D4, D5, D6, D7 | UNO pins 12, 11, 10, 7, A1, A2 | From Lesson 6 |
| Potentiometer middle pin | LCD pin 3 (VO) | From Lesson 6 |
| Servo orange (signal) | UNO pin 5 | From Lesson 5 |
| Servo red (+) | Separate 5V supply + | NEW - not the UNO 5V or the + rail |
| Servo brown (−) | − rail (GND) | |
| Separate supply GND | − rail (GND) | NEW - joins the grounds |
Step by step
One thing at a time. Tick nothing off until it matches the diagram.
- Unplug the USB cable (and the servo supply, if you have one).Watch out: Always unplug the USB cable before you add, move or remove a wire.
- Check every part from Lessons 1-6 against the pin map: nothing needs to move.
- With an adult: move the servo's red wire from the + rail to the + of the separate 5V supply.Watch out: Never connect the supply's + to the UNO 5V pin or the + rail. Only the two GNDs are joined.
- Connect the supply's GND to the breadboard's − rail. The servo's brown wire stays on the − rail and orange stays on pin 5.
- No separate supply? Unplug the servo completely for now - everything else works without it.
- Plug in USB (and switch on the servo supply). Upload the Lesson 7 code.
- Turn the knob until the LCD text is sharp.
- Hold a book about 50 cm in front of the sensor and move it slowly towards it.
Sketch for this project
Written for the board in the kit. Copy it into the Arduino IDE; change the pin numbers if you wire it differently.
/*
  DIY KIT - Arduino UNO Sensor & Output Starter Kit
  Lesson 7 of 7: Parking Assistant & Sensor Dashboard (uses every part)

  PIN PLAN - the same pins as Lessons 1-6, so nothing moves:
    Red LED    -> 220 ohm -> pin 2      Yellow LED -> 220 ohm -> pin 3
    Green LED  -> 220 ohm -> pin 4      (LED short legs -> GND)
    Servo signal (orange) -> pin 5      Buzzer S -> pin 6
    HC-SR04 TRIG -> pin 8, ECHO -> pin 9
    LCD RS 12, E 11, D4 10, D5 7, D6 A1, D7 A2; VO -> potentiometer middle pin

  SERVO POWER (ask an adult): the servo's red wire goes to a SEPARATE
  regulated 5 V supply, its brown wire to GND, and that supply's GND joins
  the UNO GND. Never join the supply's + to the UNO 5V pin.
  No supply? Leave the servo unplugged - everything else still works.

  WHAT SHOULD HAPPEN (hold a book in front of the sensor)
    25 cm or more : green LED          10-24 cm : yellow LED
    under 10 cm   : red LED + buzzer   LCD shows the distance and servo angle,
    and the servo arm swings like a gauge between about 5 and 50 cm.
*/

#include <Servo.h>
#include <LiquidCrystal.h>

const int RED_LED    = 2;
const int YELLOW_LED = 3;
const int GREEN_LED  = 4;
const int SERVO_PIN  = 5;
const int BUZZER_PIN = 6;
const int TRIG_PIN   = 8;
const int ECHO_PIN   = 9;

const long NEAR_CM = 10;   // closer than this: red LED + buzzer
const long SLOW_CM = 25;   // closer than this: yellow LED
const bool BUZZER_ACTIVE_LOW = false;   // same setting as Lesson 3

LiquidCrystal lcd(12, 11, 10, 7, A1, A2);   // RS, E, D4, D5, D6, D7
Servo gauge;

void buzzer(bool on) {
  if (BUZZER_ACTIVE_LOW) {
    digitalWrite(BUZZER_PIN, on ? LOW : HIGH);
  } else {
    digitalWrite(BUZZER_PIN, on ? HIGH : LOW);
  }
}

// Distance in cm, or -1 when no echo comes back (nothing in range).
long readDistanceCm() {
  digitalWrite(TRIG_PIN, LOW);
  delayMicroseconds(2);
  digitalWrite(TRIG_PIN, HIGH);
  delayMicroseconds(10);
  digitalWrite(TRIG_PIN, LOW);
  long us = pulseIn(ECHO_PIN, HIGH, 30000);
  if (us == 0) return -1;
  return us / 58;
}

// Light exactly one LED for the zone - or none when there is no reading.
void showZone(long cm) {
  bool valid = cm > 0;
  digitalWrite(RED_LED,    valid && cm < NEAR_CM);
  digitalWrite(YELLOW_LED, valid && cm >= NEAR_CM && cm < SLOW_CM);
  digitalWrite(GREEN_LED,  valid && cm >= SLOW_CM);
  buzzer(valid && cm < NEAR_CM);
}

// 5 cm -> 170 degrees ... 50 cm -> 20 degrees. No reading -> middle (90).
int gaugeAngle(long cm) {
  if (cm < 0) return 90;
  cm = constrain(cm, 5, 50);
  return map(cm, 5, 50, 170, 20);
}

void setup() {
  pinMode(RED_LED, OUTPUT);
  pinMode(YELLOW_LED, OUTPUT);
  pinMode(GREEN_LED, OUTPUT);
  pinMode(BUZZER_PIN, OUTPUT);
  pinMode(TRIG_PIN, OUTPUT);
  pinMode(ECHO_PIN, INPUT);
  buzzer(false);

  lcd.begin(16, 2);
  lcd.print("Parking Assist");
  gauge.attach(SERVO_PIN);
  gauge.write(90);

  Serial.begin(9600);
  Serial.println("Lesson 7: Parking Assistant & Sensor Dashboard");
  delay(1000);
  lcd.clear();
}

void loop() {
  long cm = readDistanceCm();
  int angle = gaugeAngle(cm);

  showZone(cm);
  gauge.write(angle);

  lcd.setCursor(0, 0);
  lcd.print("Dist: ");
  if (cm < 0) {
    lcd.print("--      ");
  } else {
    lcd.print(cm);
    lcd.print(" cm    ");   // spaces wipe old digits
  }
  lcd.setCursor(0, 1);
  lcd.print("Servo: ");
  lcd.print(angle);
  lcd.print(" deg  ");

  Serial.print("dist_cm:");
  Serial.print(cm);
  Serial.print(",servo_deg:");
  Serial.println(angle);

  delay(200);
}Upload it
- Click Copy (or Download .ino and open the file).
- In the Arduino IDE choose File → New Sketch, select everything in it and paste.
- Check the bottom of the window says Arduino Uno and your port (Start here, step 5).
- Click Upload (the → arrow) and wait for Done uploading.
How the code works
| In the code | What it does |
|---|---|
| NEAR_CM and SLOW_CM | The two thresholds: under 10 cm is "too close", under 25 cm is "slow down". |
| readDistanceCm() | The Lesson 4 measurement. Returns -1 when no echo comes back. |
| showZone(cm) | Lights exactly one LED for the zone and switches the buzzer on only when too close. |
| gaugeAngle(cm) | 5 cm → 170°, 50 cm → 20°: the closer the object, the further the needle swings. |
| lcd.print(" cm ") | The extra spaces wipe out old digits when the number gets shorter. |
Change it and see
What you should see or hear
- Target 25 cm or further: green LED.
- 10-24 cm: yellow LED.
- Under 10 cm: red LED and the buzzer.
- The LCD shows Dist: … cm and Servo: … deg. With the servo supply connected, the arm swings as the book moves between about 5 and 50 cm.
- Nothing in front of the sensor: the LCD shows -- and all the LEDs are off.
If it doesn't work
| Problem | What to check |
|---|---|
| Some parts work, others don't | Go back to that part's lesson and run its sketch: every lesson uses the same pins. |
| The UNO restarts when the servo moves | Stop. In this build the servo must not run from the UNO 5V. Use the separate supply, or unplug the servo. |
| The servo doesn't move with the supply connected | Check the supply's GND is joined to the − rail (common ground) and that the supply is switched on. |
| The buzzer is on all the time | Set BUZZER_ACTIVE_LOW = true, as you found in Lesson 3. |
| The LCD is blank or shows blocks | Turn the contrast knob, then recheck the Lesson 6 wiring. |
| Distance shows -- with a book in front | Check TRIG is on pin 8 and ECHO on pin 9, and aim at a flat, hard target. |
Small experiment
Make a parking space: tape a line on the table 10 cm from the sensor and push a toy car (or a box) towards it. Can you stop on the line using only the LEDs and the buzzer?
Check what you learned
Which LED is on at 17 cm?
Yellow (10-24 cm).
Why does the servo get its own supply?
It can draw more current than the UNO's USB power can safely give.
Why must the two GNDs be joined?
So the servo's signal and the UNO share the same 0V reference.
Next
- Make the buzzer beep faster as the target gets closer, like a real car.
- Show SAFE, SLOW or STOP on the LCD's second line.
Stuck?
Most problems are one wire in the wrong hole. Check these first:
- Unplug, then compare every wire with the lesson's diagram and table. One pin off is the most common problem.
- LEDs: is the long leg on the resistor side?
- Is the − rail connected to a UNO GND pin, and the + rail to 5V?
- Upload problems: is Tools → Board set to Arduino Uno and Tools → Port to your UNO? (Start here, step 5.)
- Read the lesson's "If it doesn't work" table and find the line that matches what you see.
Open the troubleshooting table for this step →
Hi DIY KIT, I'm stuck on the Arduino UNO Sensor & Output Starter Kit.
Lesson: __
Step number: __
What should happen: __
What happens instead: __
Error message (copied exactly): __
I'll attach a photo of my wiring.
More from this kit
Lesson 4: Ultrasonic Distance
Measure distance with sound. The HC-SR04 times an echo and the UNO turns it into centimetres, drawn live in the Serial Plotter.
Lesson 1: LED Basics & Brightness
Blink an LED, then fade it with a knob. Learn which LED leg is +, why every LED needs a resistor, and how the UNO dims a light. Do Start here first.
Lesson 2: Traffic Light
Three LEDs run the red, red + yellow, green, yellow cycle of a real traffic light. Learn timing with delay() and write your own function.
