Lesson 3: Buzzer Patterns
The active buzzer plays a slow beep, a fast alarm and SOS in Morse code. Type a number in the Serial Monitor to choose the pattern.
Before you start
Exact parts
| Part | How many |
|---|---|
| UNO R3 + USB cable | 1 |
| Active buzzer module | 1 |
| Male-to-female jumper wires | 3 |
Not in the box
Nothing extra - just the kit and your computer.
What you build and learn
- What an active buzzer is
- Active-high and active-low modules, and how to tell which you have
- Sending commands from your computer to the UNO
- Morse code in code
The active buzzer beeps at one fixed pitch whenever it is switched on. The sketch only decides when and for how long: the rhythm is the message, like a smoke alarm.
Some buzzer modules beep when their signal pin is HIGH (active-high), others when it is LOW (active-low). BUZZER_ACTIVE_LOW in the code lets you match your module.
While a pattern plays, the sketch keeps checking for anything you type in the Serial Monitor. Type 1, 2 or 3 and press Enter to choose a pattern, or 0 for silence. Until you type something, it shows off each pattern for 6 seconds.
New words
- Active buzzer
- A buzzer with its own tone maker inside: switch it on and it beeps.
- Module
- A small board with a part already fitted and its pins labelled.
- Baud
- The speed of the serial connection. Both sides must use the same number - here 9600.
What this project uses
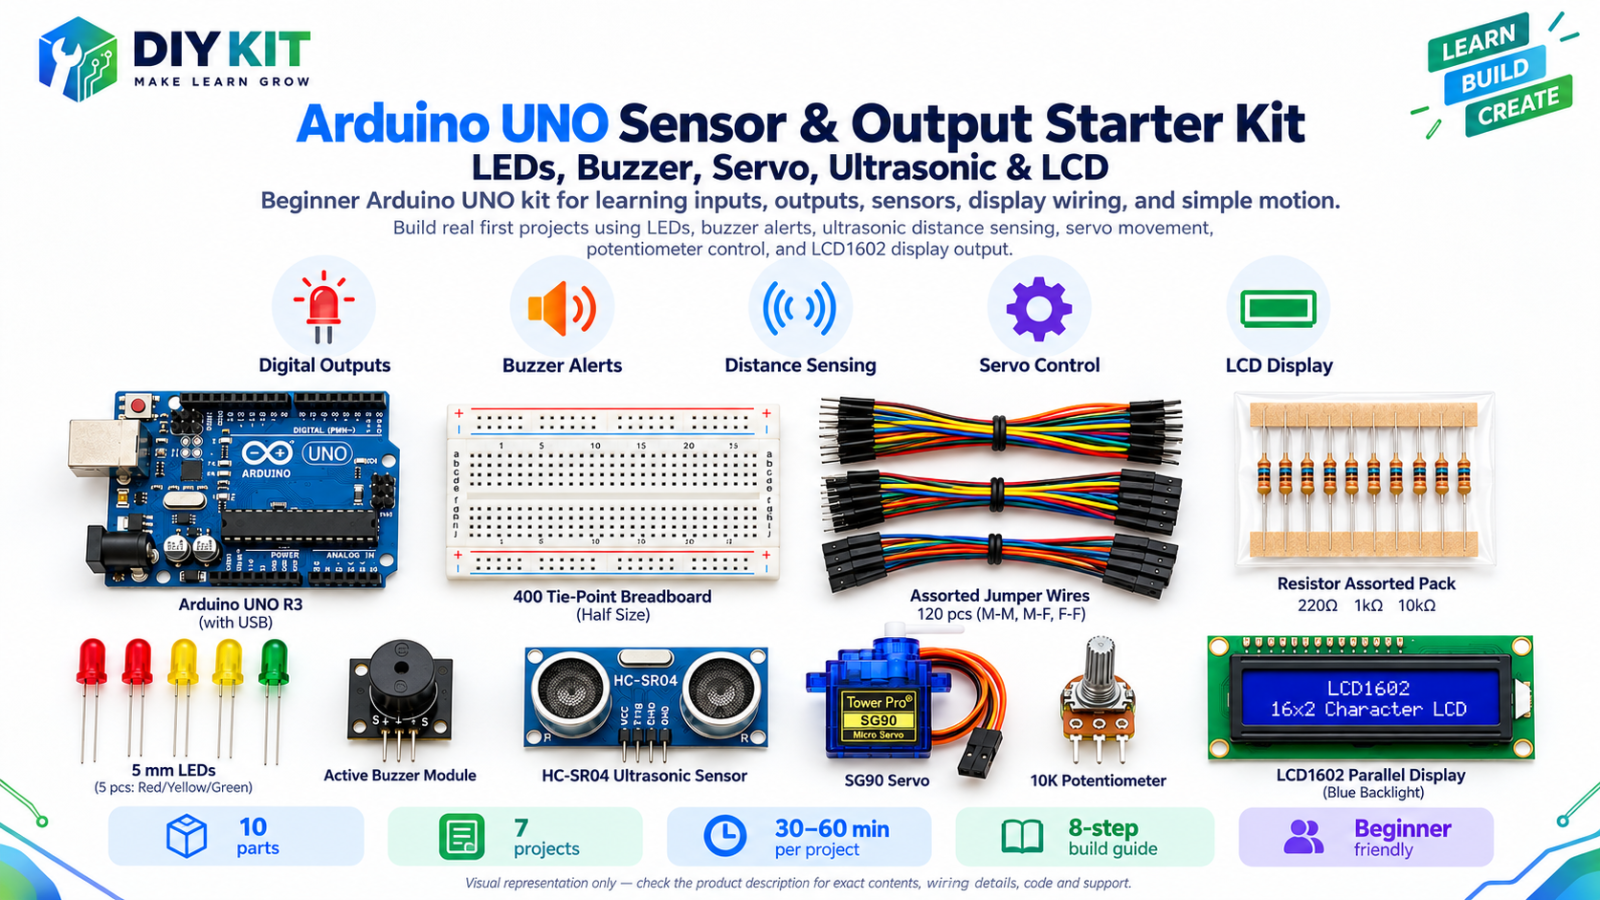
Every item is in the kit — nothing extra to buy.



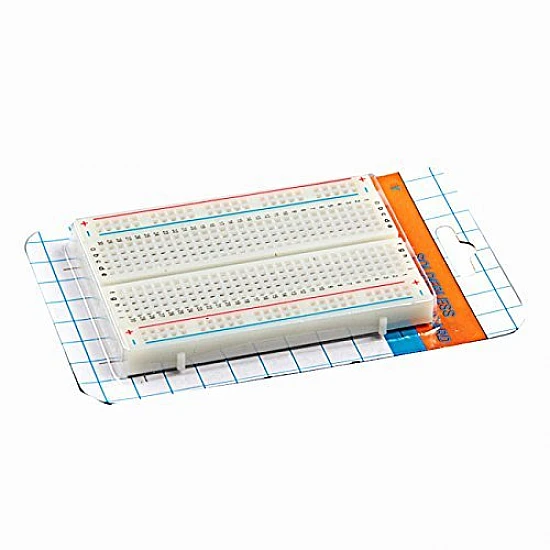
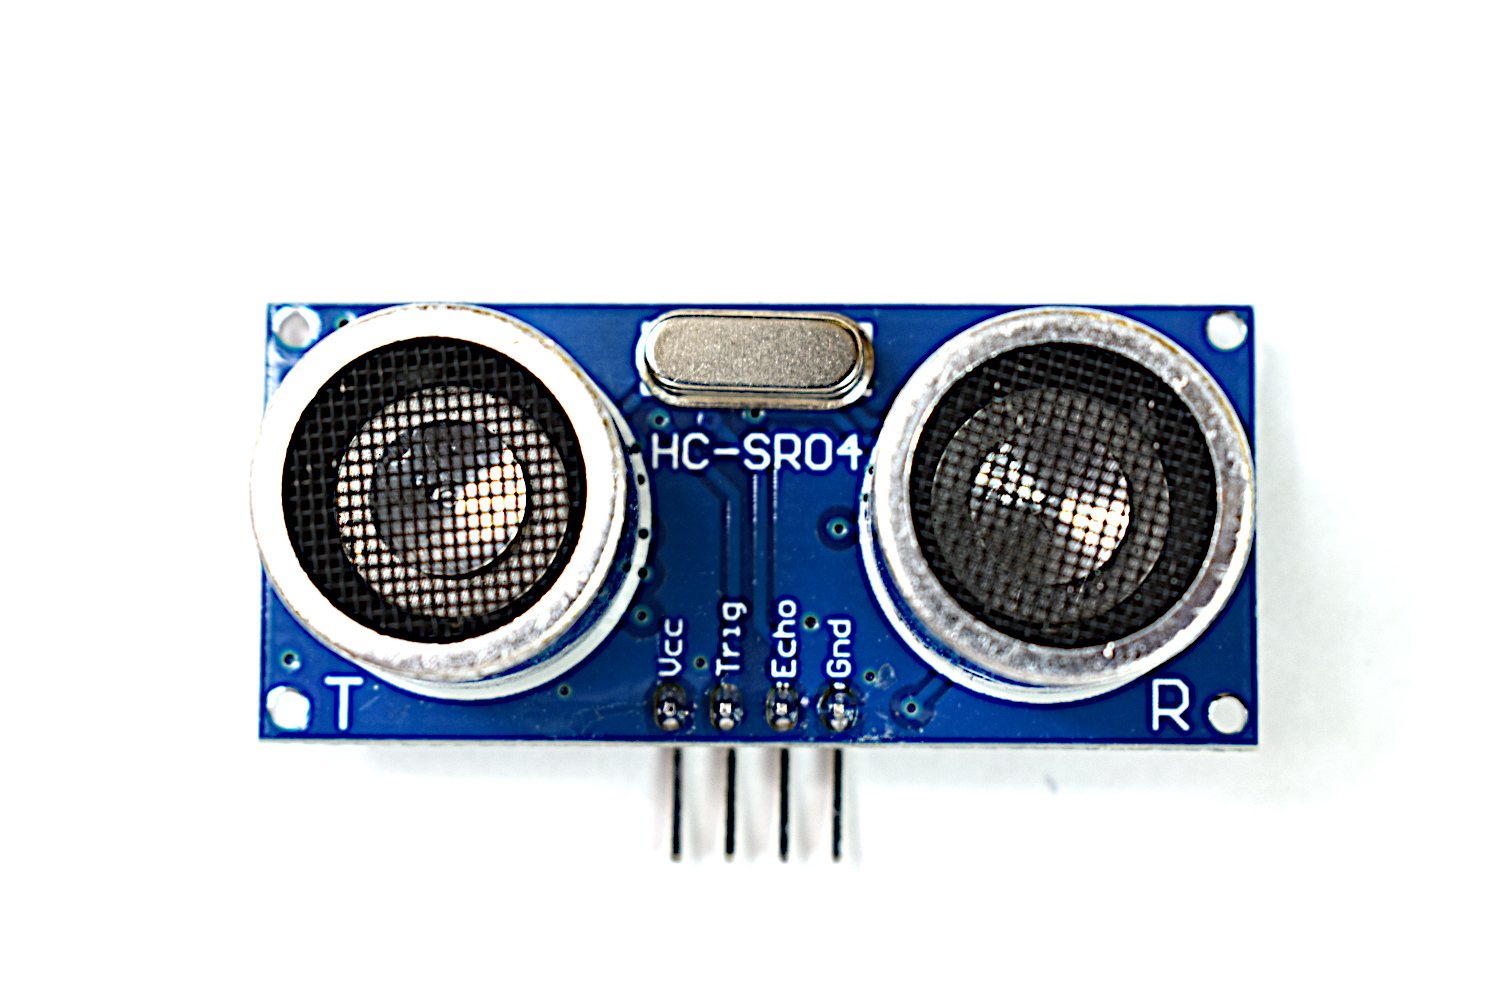
Arduino UNO Sensor & Output Starter Kit - LEDs, Buzzer, Servo, Ultrasonic & LCD
All 10 parts in one box, with this project and 6 more to build from them.
Need only these parts? Order them loose · from AED 88.44
One of each part. Packs (resistor assortment, jumper wires) already hold more than a single build needs. Delivery is AED 20, free on orders AED 100+.
Connections
Unplug USB before you change any wire. Pin names are the labels printed on the board.
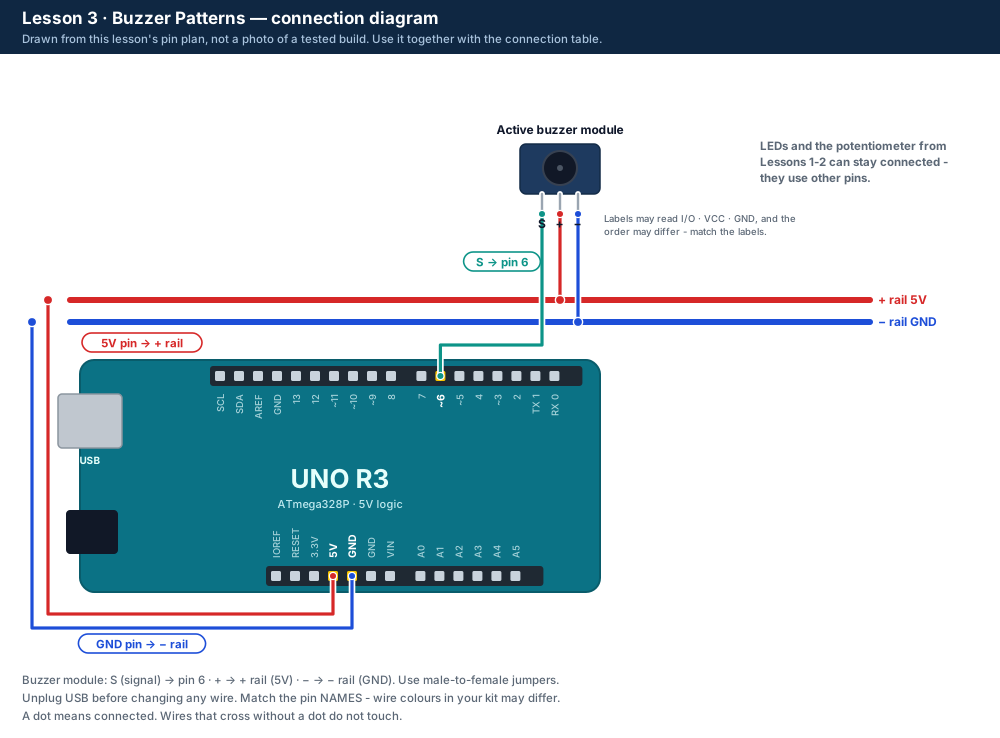
| Part / pin | Connect to | Note |
|---|---|---|
| Buzzer S (signal) | UNO pin 6 | May be labelled I/O or IN |
| Buzzer + | + rail (5V) | May be labelled VCC |
| Buzzer − | − rail (GND) | May be labelled GND |
Step by step
One thing at a time. Tick nothing off until it matches the diagram.
- Unplug the USB cable.Watch out: Always unplug the USB cable before you add, move or remove a wire.
- Read the three labels printed next to the buzzer module's pins (S, +, − or I/O, VCC, GND).
- With male-to-female jumper wires connect S to UNO pin 6, + to the + rail and − to the − rail.Watch out: Do not swap + and −.
- Plug in USB and upload the Lesson 3 code.
- Listen: pattern 1 is a slow beep. After 6 seconds it changes to a fast alarm, then SOS.
- Open Tools → Serial Monitor (9600 baud), type 3 in the message box and press Enter: SOS plays and stays on. Type 0 for silence.
Sketch for this project
Written for the board in the kit. Copy it into the Arduino IDE; change the pin numbers if you wire it differently.
/*
  DIY KIT - Arduino UNO Sensor & Output Starter Kit
  Lesson 3 of 7: Buzzer Patterns

  WIRING (unplug the USB cable before you wire)
    Active buzzer module, using 3 male-to-female jumper wires:
      S (signal, may be labelled I/O or IN) -> UNO pin 6
      + (VCC)                               -> 5V
      - (GND)                               -> GND
    The LEDs and potentiometer from Lessons 1-2 can stay where they are.

  WHAT SHOULD HAPPEN
    The buzzer plays pattern 1 (slow beep), then 2 (fast alarm), then 3 (SOS),
    changing every 6 seconds. Open the Serial Monitor (9600 baud), type a
    number 0-3 and press Enter to choose a pattern yourself. 0 = silence.
*/

const int BUZZER_PIN = 6;

// Most modules beep when the pin is HIGH. If yours beeps in the gaps or
// all the time, change false to true and upload again.
const bool BUZZER_ACTIVE_LOW = false;

const unsigned long SLOW_ON_MS = 300, SLOW_OFF_MS = 700;  // pattern 1: slow warning
const unsigned long FAST_ON_MS = 80,  FAST_OFF_MS = 120;  // pattern 2: urgent alarm
const unsigned long DOT_MS     = 120, DASH_MS     = 360;  // pattern 3: SOS in Morse code
const unsigned long AUTO_CHANGE_MS = 6000;                // demo mode: next pattern every 6 s

int pattern = 1;                 // the pattern playing now (0-3)
bool demoMode = true;            // true until you type a number
bool newChoice = false;          // set when you type a number
unsigned long patternStarted = 0;

void buzzer(bool on) {
  if (BUZZER_ACTIVE_LOW) {
    digitalWrite(BUZZER_PIN, on ? LOW : HIGH);
  } else {
    digitalWrite(BUZZER_PIN, on ? HIGH : LOW);
  }
}

void announce() {
  Serial.print("Pattern ");
  Serial.print(pattern);
  if (pattern == 0)      Serial.println(": silence");
  else if (pattern == 1) Serial.println(": slow beep");
  else if (pattern == 2) Serial.println(": fast alarm");
  else                   Serial.println(": SOS");
  patternStarted = millis();
}

// Read anything typed in the Serial Monitor.
void readKeyboard() {
  while (Serial.available() > 0) {
    char c = Serial.read();          // one character at a time
    if (c >= '0' && c <= '3') {
      pattern = c - '0';             // the character '2' becomes the number 2
      demoMode = false;              // you chose: stop changing by itself
      newChoice = true;
      announce();
    }
  }
}

// Wait, but keep listening to the keyboard.
// Returns true if you typed a new pattern while waiting.
bool waitAndListen(unsigned long ms) {
  unsigned long start = millis();
  while (millis() - start < ms) {
    readKeyboard();
    if (newChoice) return true;
    delay(1);                        // a tiny pause before checking again
  }
  return false;
}

// One beep: on for onMs, then off for offMs. Returns true if interrupted.
bool beep(unsigned long onMs, unsigned long offMs) {
  buzzer(true);
  bool stop = waitAndListen(onMs);
  buzzer(false);
  if (stop) return true;
  return waitAndListen(offMs);
}

void playSOS() {
  for (int i = 0; i < 3; i++) if (beep(DOT_MS, DOT_MS)) return;   // S = . . .
  if (waitAndListen(DASH_MS)) return;
  for (int i = 0; i < 3; i++) if (beep(DASH_MS, DOT_MS)) return;  // O = - - -
  if (waitAndListen(DASH_MS)) return;
  for (int i = 0; i < 3; i++) if (beep(DOT_MS, DOT_MS)) return;   // S = . . .
  waitAndListen(1000);
}

void setup() {
  pinMode(BUZZER_PIN, OUTPUT);
  buzzer(false);
  Serial.begin(9600);
  Serial.println("Lesson 3: Buzzer Patterns - type 0, 1, 2 or 3 and press Enter");
  announce();
}

void loop() {
  newChoice = false;

  // Demo mode: move on to the next pattern every few seconds.
  if (demoMode && millis() - patternStarted > AUTO_CHANGE_MS) {
    pattern = pattern % 3 + 1;  // 1 -> 2 -> 3 -> 1
    announce();
  }

  if (pattern == 1)      beep(SLOW_ON_MS, SLOW_OFF_MS);
  else if (pattern == 2) beep(FAST_ON_MS, FAST_OFF_MS);
  else if (pattern == 3) playSOS();
  else {                 // pattern 0: silence
    buzzer(false);
    waitAndListen(100);
  }
}Upload it
- Click Copy (or Download .ino and open the file).
- In the Arduino IDE choose File → New Sketch, select everything in it and paste.
- Check the bottom of the window says Arduino Uno and your port (Start here, step 5).
- Click Upload (the → arrow) and wait for Done uploading.
How the code works
| In the code | What it does |
|---|---|
| BUZZER_ACTIVE_LOW | false for most modules. Change it to true if your buzzer beeps in the gaps instead of on the beeps. |
| buzzer(true / false) | Our function that switches the buzzer on or off the right way for your module. |
| readKeyboard() | Reads the characters you type. A digit 0-3 becomes the new pattern and stops the automatic demo. |
| waitAndListen(ms) | Waits, but keeps checking the keyboard, so a new choice works straight away. |
| playSOS() | Three short, three long, three short beeps: S-O-S in Morse code. |
Change it and see
What you should see or hear
- Pattern 1: a slow beep (on 0.3 s, off 0.7 s). After 6 s pattern 2, a fast alarm, then pattern 3, SOS.
- Typing 3 and Enter switches to SOS straight away and it stays there. Typing 0 stops the sound.
- The Serial Monitor prints the name of each pattern as it starts.
If it doesn't work
| Problem | What to check |
|---|---|
| The buzzer sounds all the time, or in the gaps | Your module is active-low. Change BUZZER_ACTIVE_LOW to true and upload again. |
| No sound at all | Check S is on pin 6 and + is on the + rail (5V), not swapped with −. |
| Only a click, no beep | That is how a passive buzzer behaves. Ask us on WhatsApp: the kit should contain an active buzzer. |
| Typing a number does nothing | Click in the Serial Monitor's message box, type the digit and press Enter. Check the speed is 9600 baud. |
Small experiment
Look up the first letter of your name in Morse code. Copy playSOS(), rename it and change the dots and dashes to beep your letter.
Check what you learned
What is the difference between an active and a passive buzzer?
An active buzzer makes its own tone when it is switched on; a passive one needs the UNO to make the tone.
Which UNO pin is the buzzer's signal on?
Pin 6.
What does typing 0 do?
Pattern 0: silence.
Next
- Lesson 4 adds the distance sensor on pins 8 and 9. The buzzer and LEDs can stay.
Stuck?
Most problems are one wire in the wrong hole. Check these first:
- Unplug, then compare every wire with the lesson's diagram and table. One pin off is the most common problem.
- LEDs: is the long leg on the resistor side?
- Is the − rail connected to a UNO GND pin, and the + rail to 5V?
- Upload problems: is Tools → Board set to Arduino Uno and Tools → Port to your UNO? (Start here, step 5.)
- Read the lesson's "If it doesn't work" table and find the line that matches what you see.
Open the troubleshooting table for this step →
Hi DIY KIT, I'm stuck on the Arduino UNO Sensor & Output Starter Kit.
Lesson: __
Step number: __
What should happen: __
What happens instead: __
Error message (copied exactly): __
I'll attach a photo of my wiring.
More from this kit
Lesson 1: LED Basics & Brightness
Blink an LED, then fade it with a knob. Learn which LED leg is +, why every LED needs a resistor, and how the UNO dims a light. Do Start here first.
Lesson 2: Traffic Light
Three LEDs run the red, red + yellow, green, yellow cycle of a real traffic light. Learn timing with delay() and write your own function.
Lesson 4: Ultrasonic Distance
Measure distance with sound. The HC-SR04 times an echo and the UNO turns it into centimetres, drawn live in the Serial Plotter.
