Lesson 6: LCD Display
Put "Hello" and your name on the top line of the LCD and a seconds counter on the bottom line. The knob becomes the contrast control.
Before you start
- Soldering the LCD's 16-pin header - only if it is not already fitted
Exact parts
| Part | How many |
|---|---|
| UNO R3 + USB cable | 1 |
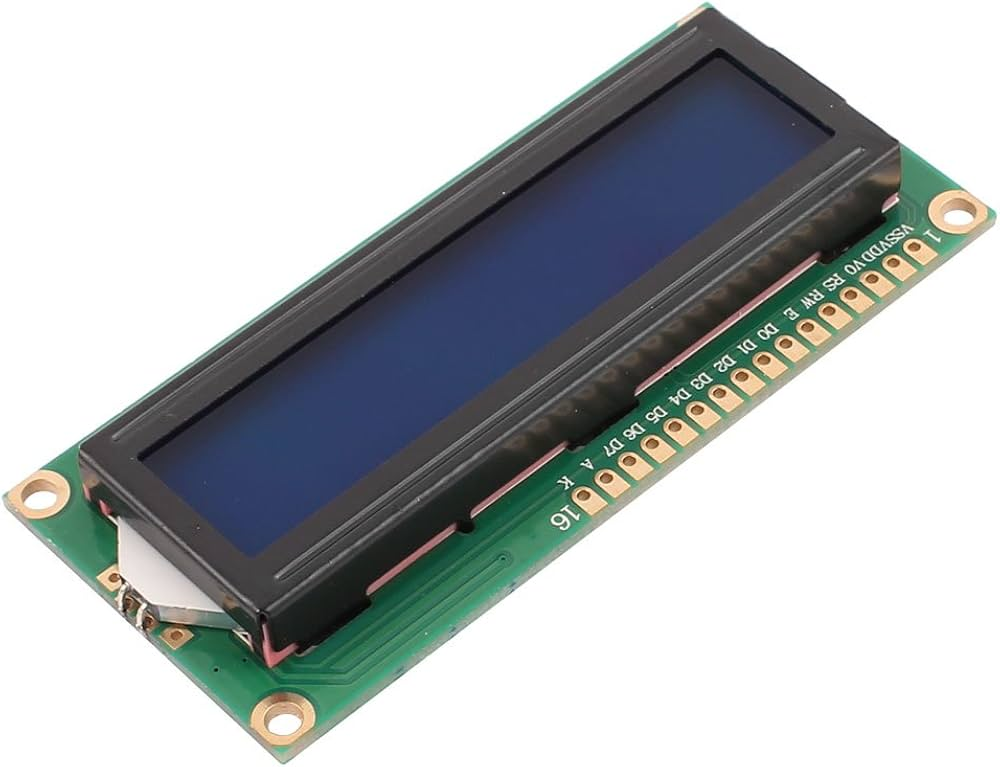
| LCD1602 display | 1 |
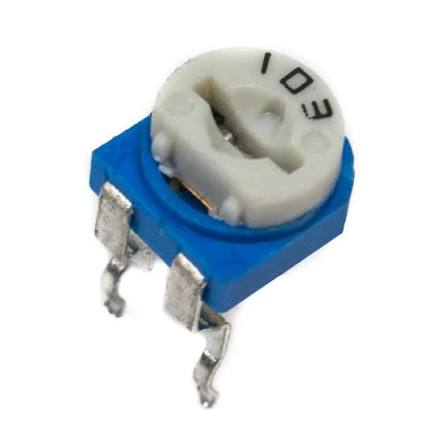
| 10K potentiometer (moved from A0) | 1 |
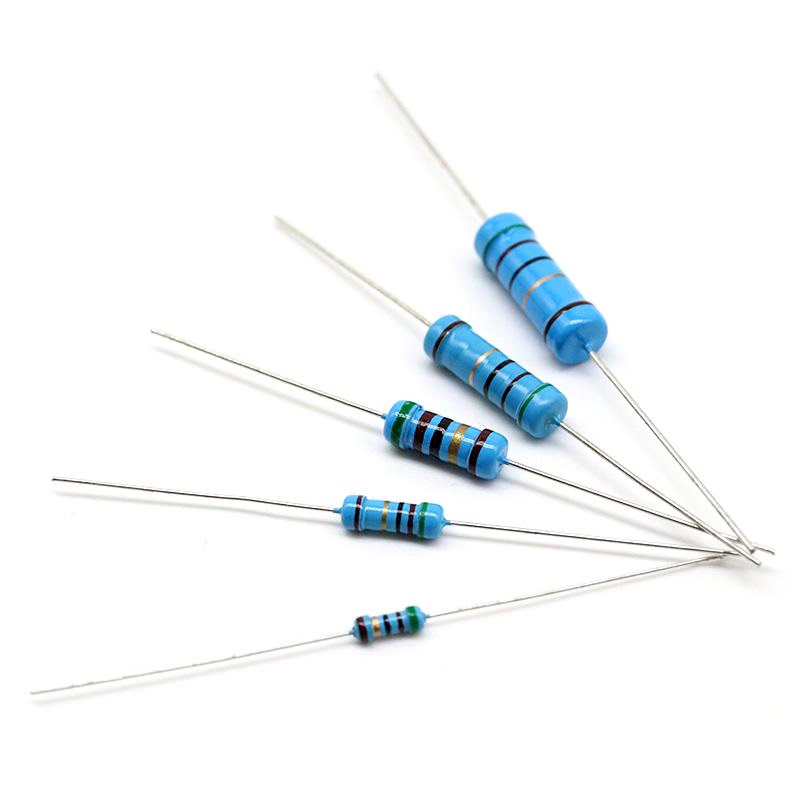
| 220 Ω resistor (backlight) | 1 |
| Jumper wires | about 16 |
Not in the box
- Only if your LCD has no pins fitted: a 16-pin header and soldering (adult only)
What you build and learn
- How a 16 × 2 character display works
- Wiring a display with 6 signal wires (4-bit mode)
- Setting the contrast with the potentiometer
- setCursor() and print() with the LiquidCrystal library
The LCD has its own controller chip. The UNO sends it letters over 4 data wires (D4-D7) and 2 control wires: RS (letter or command?) and E (read it now!). The LiquidCrystal library does all of this for you.
LCD pin 3 (VO) sets the contrast. The potentiometer's middle pin gives a voltage between 0 and 5V, so turning the knob makes the letters darker or lighter.
lcd.setCursor(column, row) chooses where to write: row 0 is the top line, row 1 the bottom. Numbers are printed with spaces in front, so old digits never stay behind.
New words
- LCD
- Liquid crystal display. This one shows 2 rows of 16 characters.
- Contrast
- How dark the letters are against the background. Too much and you see solid blocks; too little and you see nothing.
- Backlight
- The light behind the display. Its pins are 15 (A, +) and 16 (K, −).
- Header pins
- The row of metal pins that lets the LCD plug into the breadboard.
What this project uses
Every item below is in the kit. Not in the box: Only if your LCD has no pins fitted: a 16-pin header and soldering (adult only).

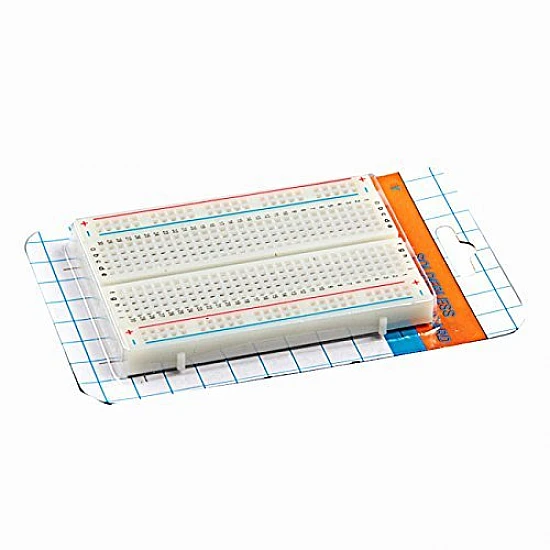
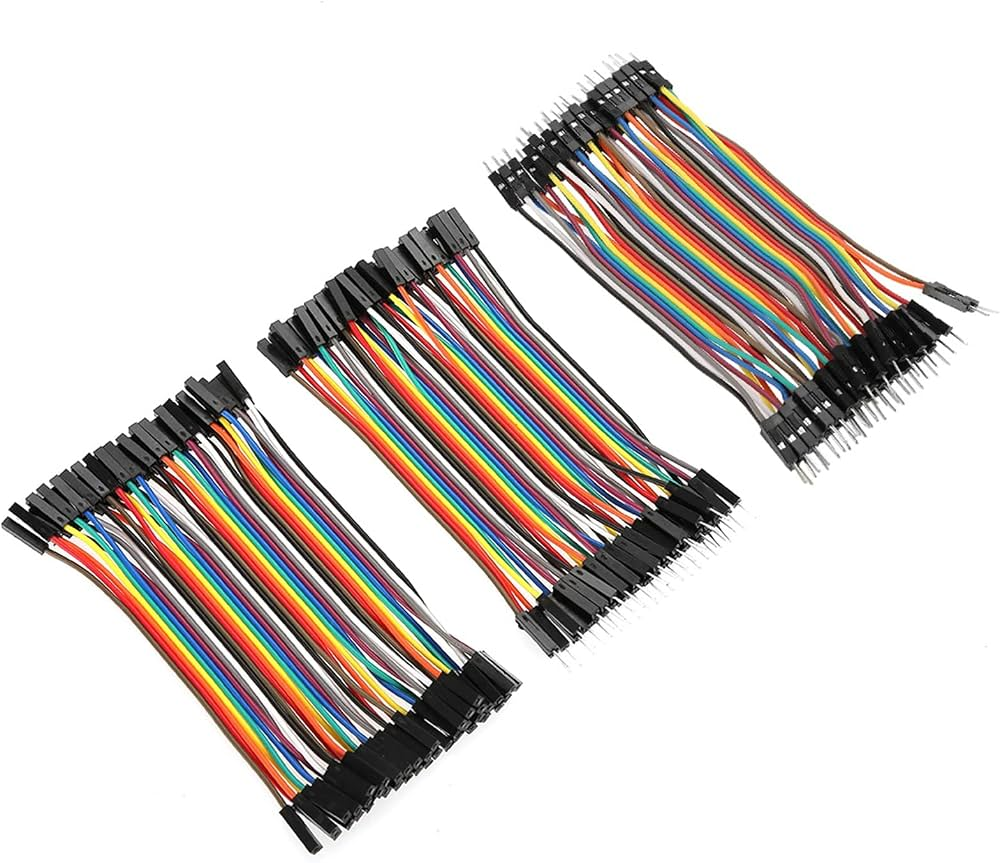
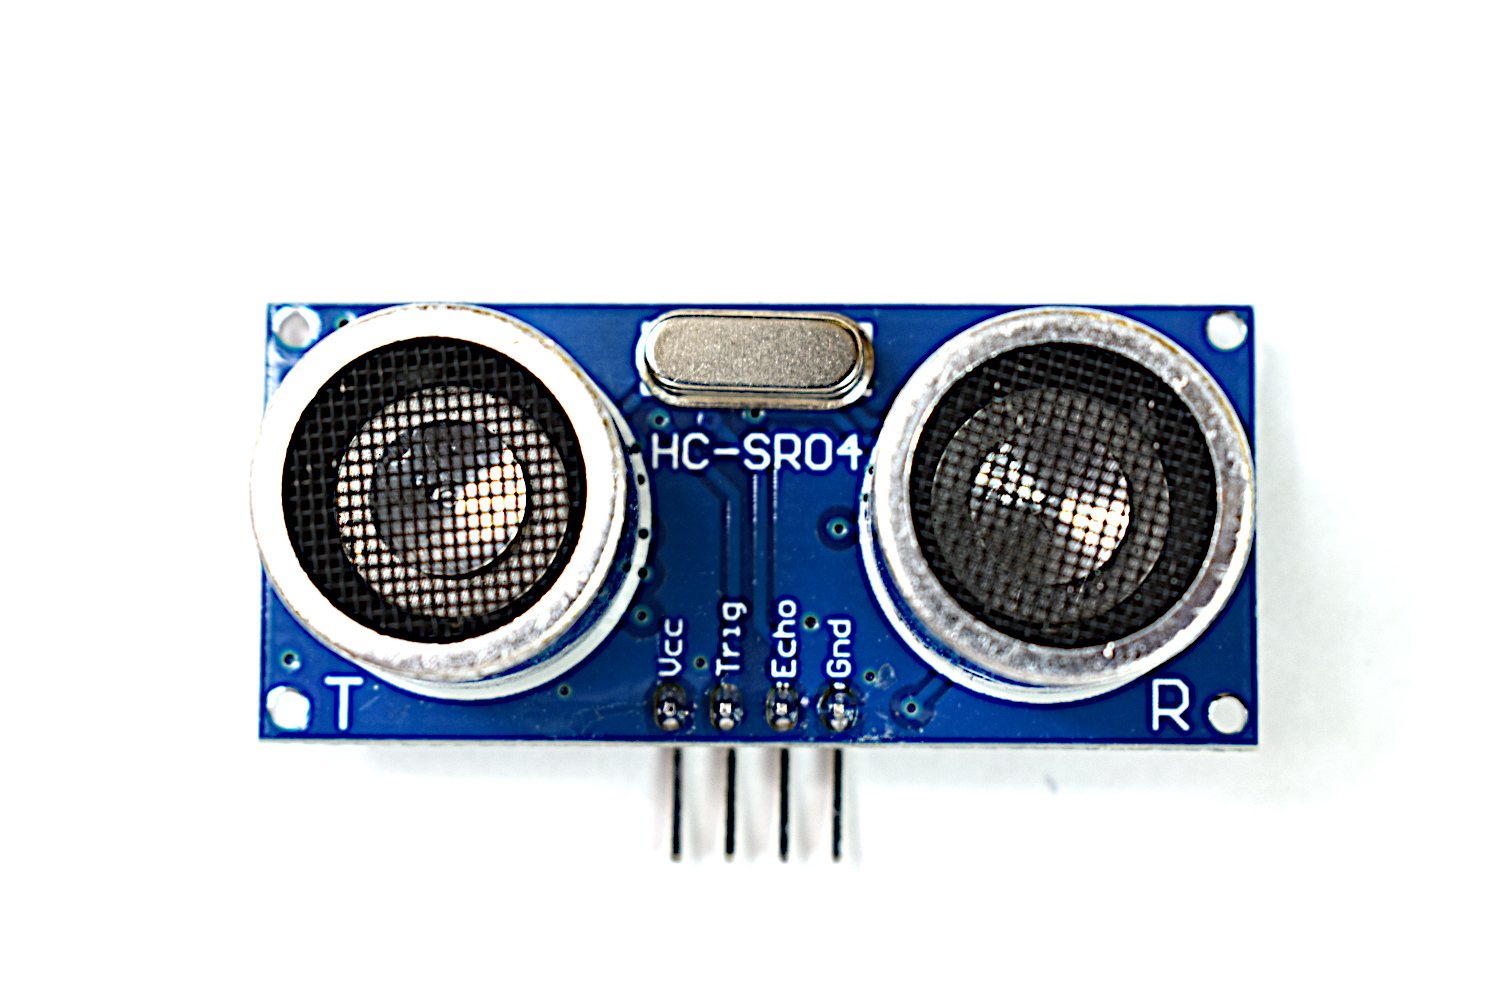
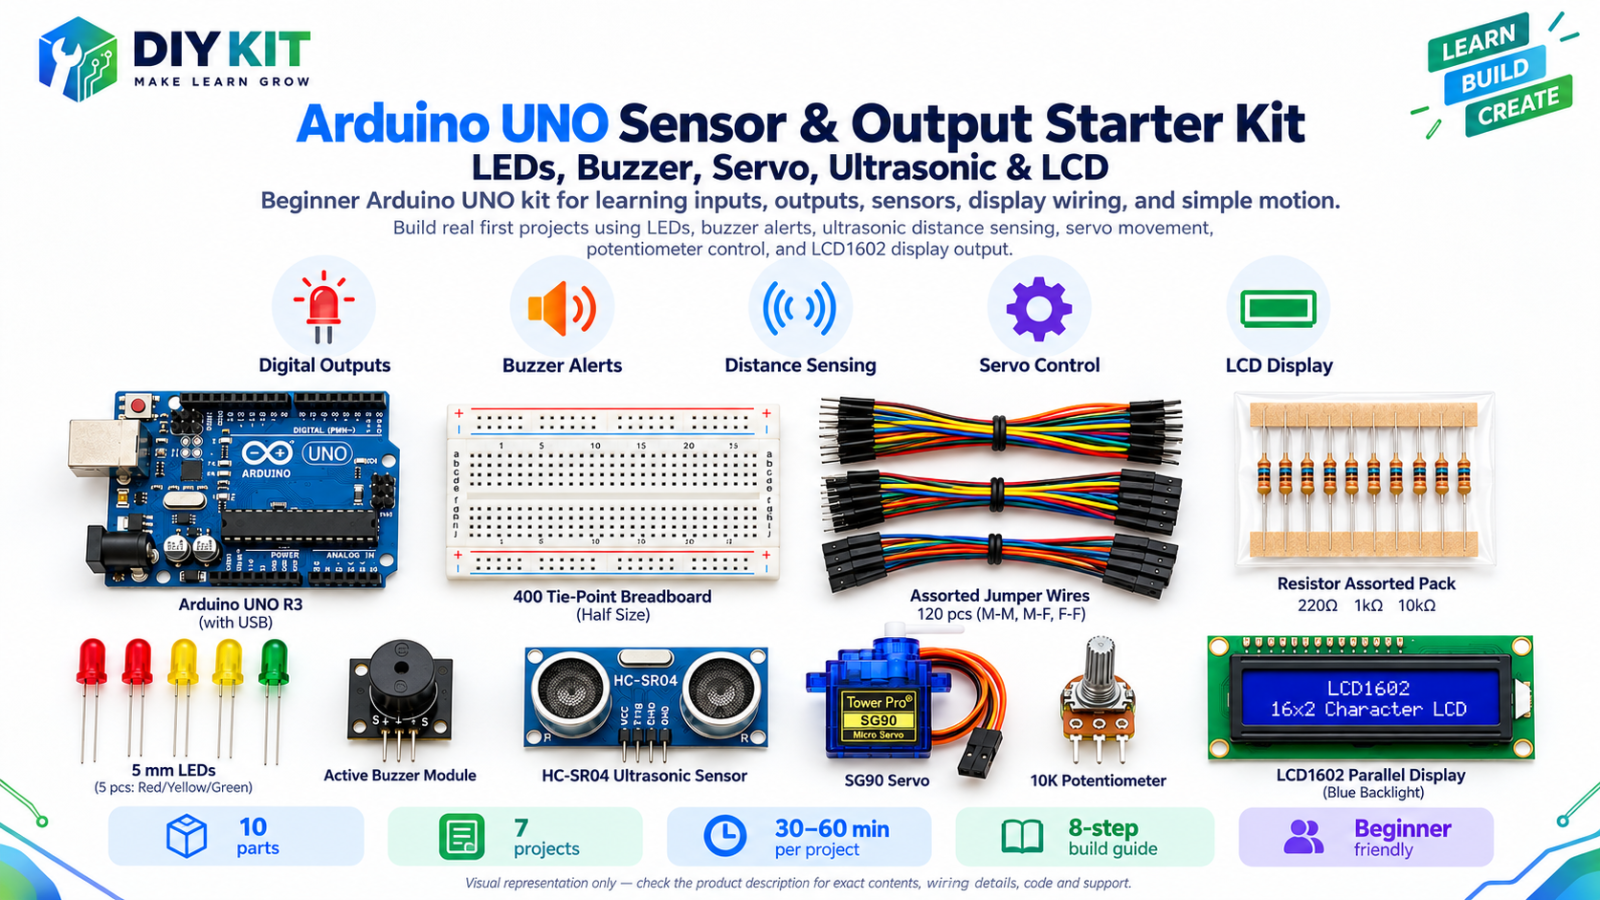
Arduino UNO Sensor & Output Starter Kit - LEDs, Buzzer, Servo, Ultrasonic & LCD
All 10 parts in one box, with this project and 6 more to build from them.
Need only these parts? Order them loose · from AED 114.74
One of each part. Packs (resistor assortment, jumper wires) already hold more than a single build needs. Delivery is AED 20, free on orders AED 100+.
Connections
Unplug USB before you change any wire. Pin names are the labels printed on the board.
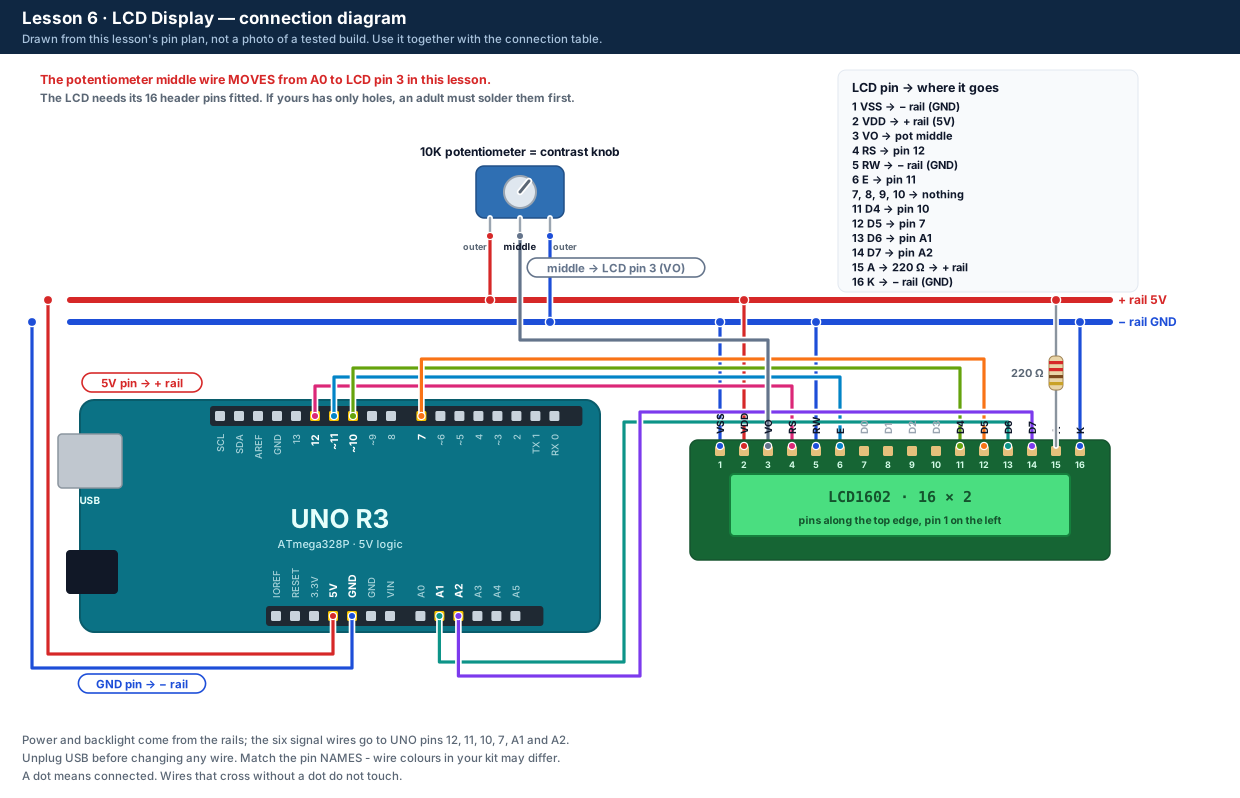
| Part / pin | Connect to | Note |
|---|---|---|
| LCD 1 VSS | − rail (GND) | |
| LCD 2 VDD | + rail (5V) | |
| LCD 3 VO | Potentiometer middle pin | MOVED from A0 - contrast |
| LCD 4 RS | UNO pin 12 | |
| LCD 5 RW | − rail (GND) | |
| LCD 6 E | UNO pin 11 | |
| LCD 7, 8, 9, 10 | Nothing | Leave empty |
| LCD 11 D4 | UNO pin 10 | |
| LCD 12 D5 | UNO pin 7 | |
| LCD 13 D6 | UNO A1 | Used as a normal pin |
| LCD 14 D7 | UNO A2 | Used as a normal pin |
| LCD 15 A (backlight +) | 220 Ω → + rail (5V) | Always through the resistor |
| LCD 16 K (backlight −) | − rail (GND) | |
| Potentiometer outer pins | + rail and − rail | Same as before |
Step by step
One thing at a time. Tick nothing off until it matches the diagram.
- Unplug the USB cable.Watch out: Always unplug the USB cable before you add, move or remove a wire.
- Look at the LCD: are there 16 metal pins along its top edge?Watch out: If there are only 16 holes, stop here and ask an adult to solder a 16-pin header. Wires just pushed into the holes will not make a reliable connection.
- Push the LCD into the breadboard so each of its 16 pins is in its own row. Find the small 1 and 16 printed next to the end pins.
- Wire the power: LCD pin 1 (VSS) to the − rail, pin 2 (VDD) to the + rail and pin 5 (RW) to the − rail.
- Wire the backlight: LCD pin 15 (A) through a 220 Ω resistor to the + rail, and pin 16 (K) to the − rail.Watch out: Always use the resistor on pin 15.
- Move the potentiometer's middle wire from A0 to LCD pin 3 (VO). Its outer pins stay on the + and − rails.
- Wire the six signal pins: LCD 4 (RS) → pin 12, 6 (E) → pin 11, 11 (D4) → pin 10, 12 (D5) → pin 7, 13 (D6) → A1, 14 (D7) → A2. Leave LCD pins 7-10 empty.
- Plug in USB. The backlight should glow. Turn the knob until you see a row of faint blocks on the top line.Watch out: If the backlight stays dark, unplug and check pins 15 and 16.
- Upload the Lesson 6 code, then turn the knob slowly until the text is sharp.
Sketch for this project
Written for the board in the kit. Copy it into the Arduino IDE; change the pin numbers if you wire it differently.
/*
  DIY KIT - Arduino UNO Sensor & Output Starter Kit
  Lesson 6 of 7: LCD Display

  WIRING (unplug the USB cable before you wire) - LCD pins are numbered 1-16
    LCD 1 VSS -> GND          LCD 2 VDD -> 5V
    LCD 3 VO  -> potentiometer middle pin (MOVE this wire from A0 - the knob
                 now sets the contrast; outer pins stay on 5V and GND)
    LCD 4 RS  -> pin 12       LCD 5 RW  -> GND       LCD 6 E -> pin 11
    LCD 7-10  -> nothing
    LCD 11 D4 -> pin 10       LCD 12 D5 -> pin 7
    LCD 13 D6 -> pin A1       LCD 14 D7 -> pin A2
    LCD 15 A  -> 220 ohm resistor -> 5V   (backlight +)
    LCD 16 K  -> GND                      (backlight -)

  WHAT SHOULD HAPPEN
    Top line:    Hello, Maker!
    Bottom line: Time:    12 s   (counting up)
    If you see nothing, or only blocks, turn the knob slowly.
*/

#include <LiquidCrystal.h>   // comes with the Arduino IDE - nothing to install

// The pins in this order: RS, E, D4, D5, D6, D7
LiquidCrystal lcd(12, 11, 10, 7, A1, A2);

const char NAME[] = "Maker";               // put your name here (up to 8 letters)
const unsigned long REFRESH_MS = 250;      // redraw 4 times a second
unsigned long lastRefresh = 0;

// Print a number in a fixed width, with spaces in front,
// so "9" does not leave the old "0" of "10" behind.
void printPadded(unsigned long value, int width) {
  String s = String(value);
  while ((int) s.length() < width) s = " " + s;
  lcd.print(s);
}

void setup() {
  lcd.begin(16, 2);          // 16 characters, 2 rows
  lcd.setCursor(0, 0);       // column 0, row 0 = top left
  lcd.print("Hello, ");
  lcd.print(NAME);
  lcd.print("!");
  Serial.begin(9600);
  Serial.println("Lesson 6: LCD Display");
}

void loop() {
  if (millis() - lastRefresh < REFRESH_MS) return;
  lastRefresh = millis();

  unsigned long seconds = millis() / 1000;

  lcd.setCursor(0, 1);       // column 0, row 1 = bottom line
  lcd.print("Time: ");
  printPadded(seconds, 5);
  lcd.print(" s");

  Serial.print("time_s:");
  Serial.println(seconds);
}Upload it
- Click Copy (or Download .ino and open the file).
- In the Arduino IDE choose File → New Sketch, select everything in it and paste.
- Check the bottom of the window says Arduino Uno and your port (Start here, step 5).
- Click Upload (the → arrow) and wait for Done uploading.
How the code works
| In the code | What it does |
|---|---|
| LiquidCrystal lcd(12, 11, 10, 7, A1, A2); | Tells the library which UNO pins go to RS, E, D4, D5, D6 and D7 - in that order. |
| lcd.begin(16, 2) | The display has 16 columns and 2 rows. |
| lcd.setCursor(0, 1) | Move to column 0 of row 1: the start of the bottom line. |
| printPadded(seconds, 5) | Prints the number 5 characters wide, with spaces in front. |
| const char NAME[] = "Maker"; | The name on the top line. Up to 8 letters fit. |
Change it and see
What you should see or hear
- Top line: Hello, Maker!
- Bottom line: Time: and the seconds since start-up, counting up.
- Turning the knob changes how dark the letters are.
If it doesn't work
| Problem | What to check |
|---|---|
| Backlight on, but no text and no blocks | Turn the knob slowly all the way: the contrast is too low. Check LCD pin 3 goes to the knob's middle pin. |
| A row of solid blocks on the top line | Power and contrast are fine but the signal wires are not. Check RS → 12, E → 11, D4 → 10, D5 → 7, D6 → A1, D7 → A2, and RW to GND. |
| Random or strange characters | A loose signal wire. Press the LCD firmly into the breadboard, then press the UNO's RESET button. |
| The backlight doesn't light | Check pin 15 goes through the 220 Ω resistor to the + rail and pin 16 to the − rail. |
| The backlight is very dim | Some LCDs already have their own backlight resistor, so with ours as well it is dimmer. That is safe. Ask an adult before removing any resistor. |
Small experiment
Turn the knob slowly from one end to the other while the text is showing. Where do the letters disappear, and where do they turn into solid blocks?
Check what you learned
Which LCD pin sets the contrast?
Pin 3 (VO).
What does lcd.setCursor(0, 1) do?
Moves to the first character of the bottom line.
Why are numbers printed with spaces in front?
So a shorter number fully covers the longer one before it.
Next
- Lesson 7 uses everything you have wired so far.
Stuck?
Most problems are one wire in the wrong hole. Check these first:
- Unplug, then compare every wire with the lesson's diagram and table. One pin off is the most common problem.
- LEDs: is the long leg on the resistor side?
- Is the − rail connected to a UNO GND pin, and the + rail to 5V?
- Upload problems: is Tools → Board set to Arduino Uno and Tools → Port to your UNO? (Start here, step 5.)
- Read the lesson's "If it doesn't work" table and find the line that matches what you see.
Open the troubleshooting table for this step →
Hi DIY KIT, I'm stuck on the Arduino UNO Sensor & Output Starter Kit.
Lesson: __
Step number: __
What should happen: __
What happens instead: __
Error message (copied exactly): __
I'll attach a photo of my wiring.
More from this kit
Lesson 1: LED Basics & Brightness
Blink an LED, then fade it with a knob. Learn which LED leg is +, why every LED needs a resistor, and how the UNO dims a light. Do Start here first.
Lesson 2: Traffic Light
Three LEDs run the red, red + yellow, green, yellow cycle of a real traffic light. Learn timing with delay() and write your own function.
Lesson 3: Buzzer Patterns
The buzzer plays a slow beep, a fast alarm and SOS in Morse code. Type 0-3 in the Serial Monitor to choose: your first commands from the computer.
