Lesson 5: Servo & Knob
Turn the knob and the servo arm follows it. Leave the knob alone for 4 seconds and the servo starts sweeping by itself.
Before you start
Exact parts
| Part | How many |
|---|---|
| UNO R3 + USB cable | 1 |
| SG90 servo with one plastic arm | 1 |
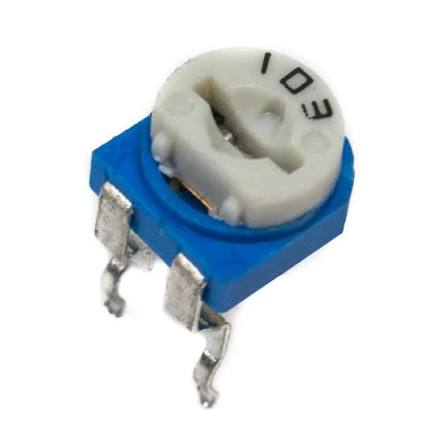
| 10K potentiometer (from Lesson 1) | 1 |
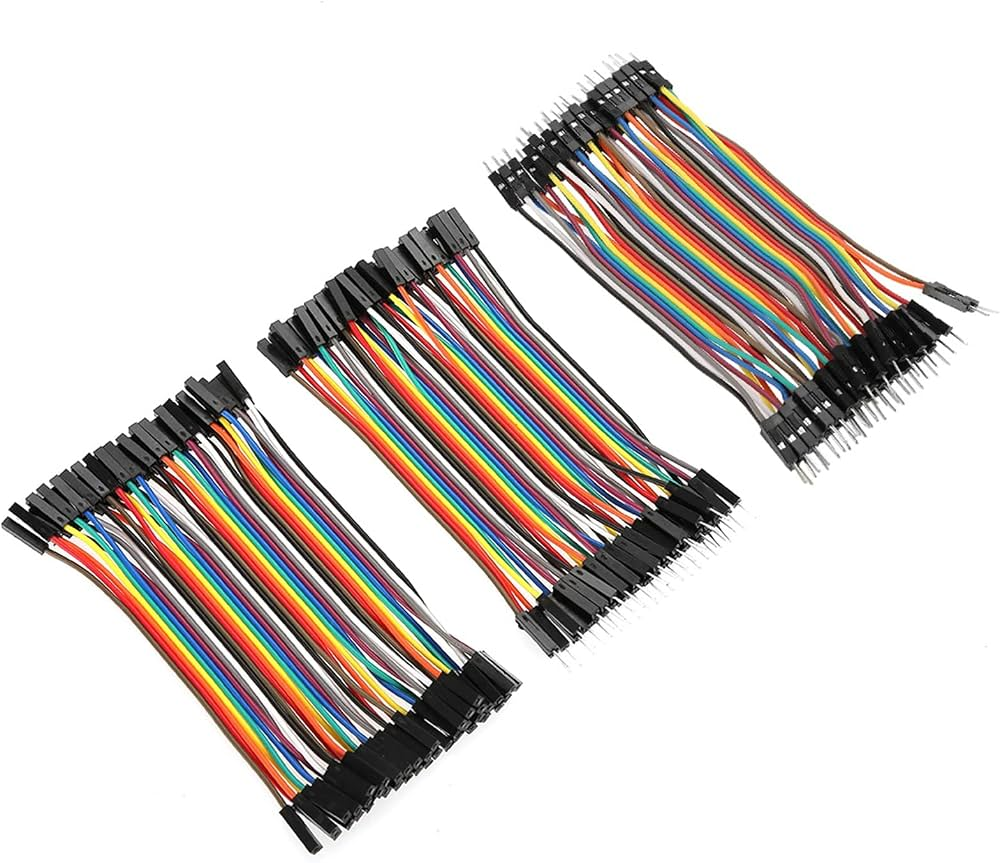
| Male-to-male jumper wires | 3 |
Not in the box
Nothing extra - just the kit and your computer.
What you build and learn
- How a servo holds an angle
- Using map() to turn 0-1023 into 10-170 degrees
- Using a library (Servo.h)
- Switching between knob mode and automatic mode with millis()
The servo has three wires: brown (−), red (+) and orange (signal). The UNO sends a short pulse on the signal wire every 20 ms, and the length of the pulse tells the servo which angle to hold. The Servo library does this for you: servo.write(90) means "go to 90 degrees".
The knob still gives 0-1023 on A0. map() turns that into an angle from 10 to 170 degrees.
The sketch remembers when the knob last moved. After 4 seconds without a change it starts sweeping by itself; turn the knob and you are back in control.
New words
- Servo
- A small motor with gears and a position sensor inside. You tell it an angle and it moves there and holds it.
- Library
- Ready-made code you include, like #include <Servo.h>. The Servo library comes with the Arduino IDE.
- millis()
- The number of milliseconds since the UNO started. Used here to tell how long the knob has been still.
What this project uses
Every item is in the kit — nothing extra to buy.


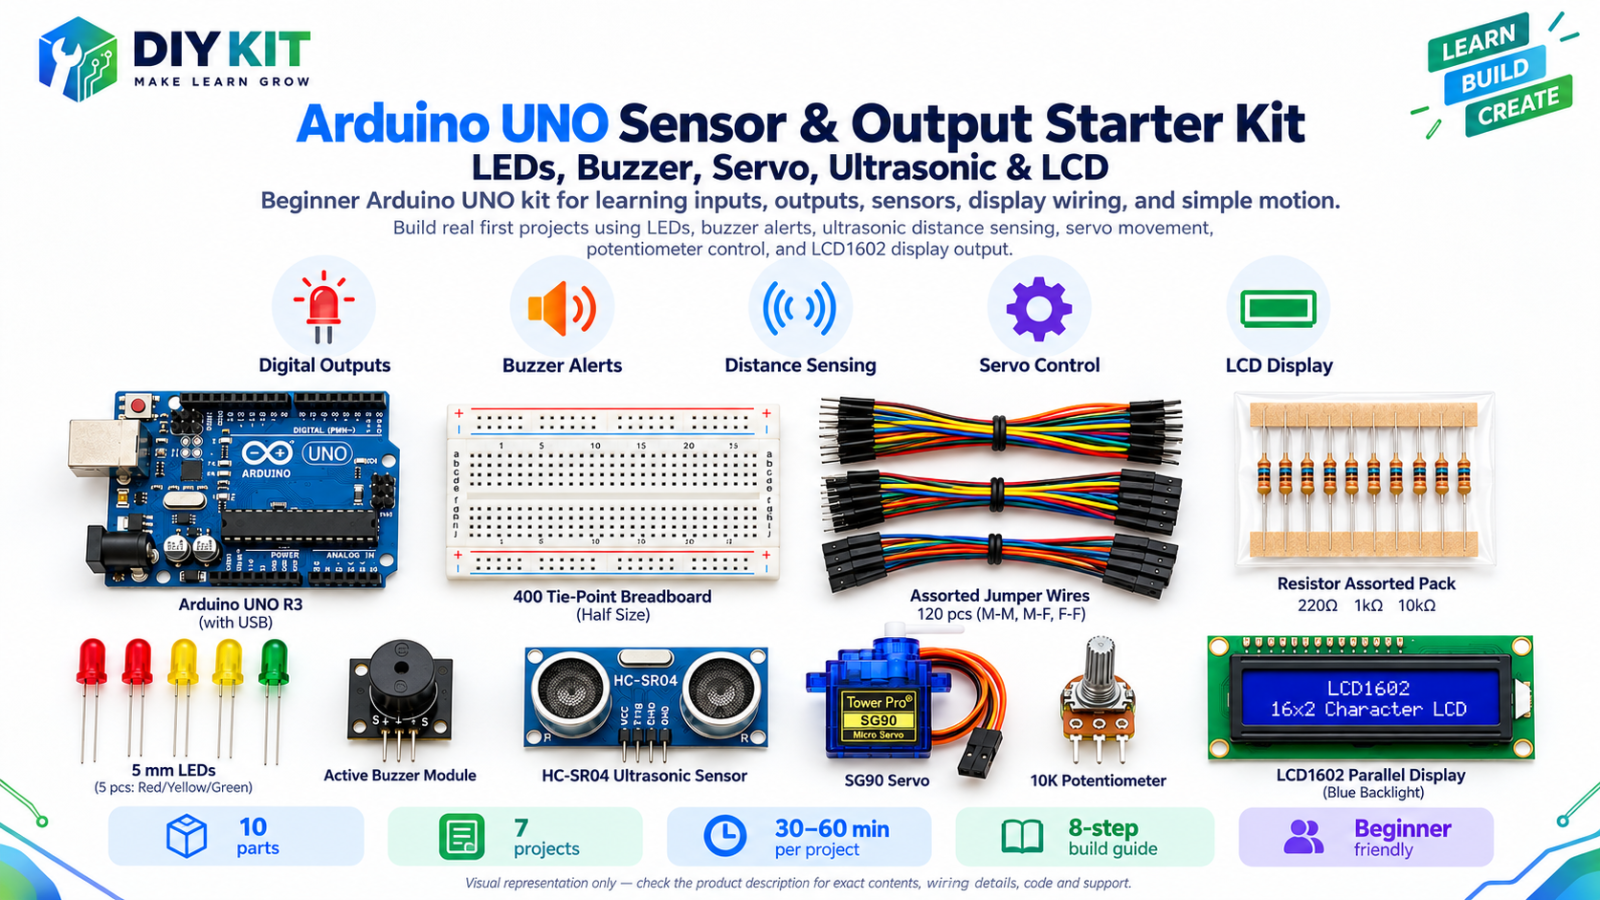
Arduino UNO Sensor & Output Starter Kit - LEDs, Buzzer, Servo, Ultrasonic & LCD
All 10 parts in one box, with this project and 6 more to build from them.
Need only these parts? Order them loose · from AED 102.23
One of each part. Packs (resistor assortment, jumper wires) already hold more than a single build needs. Delivery is AED 20, free on orders AED 100+.
Connections
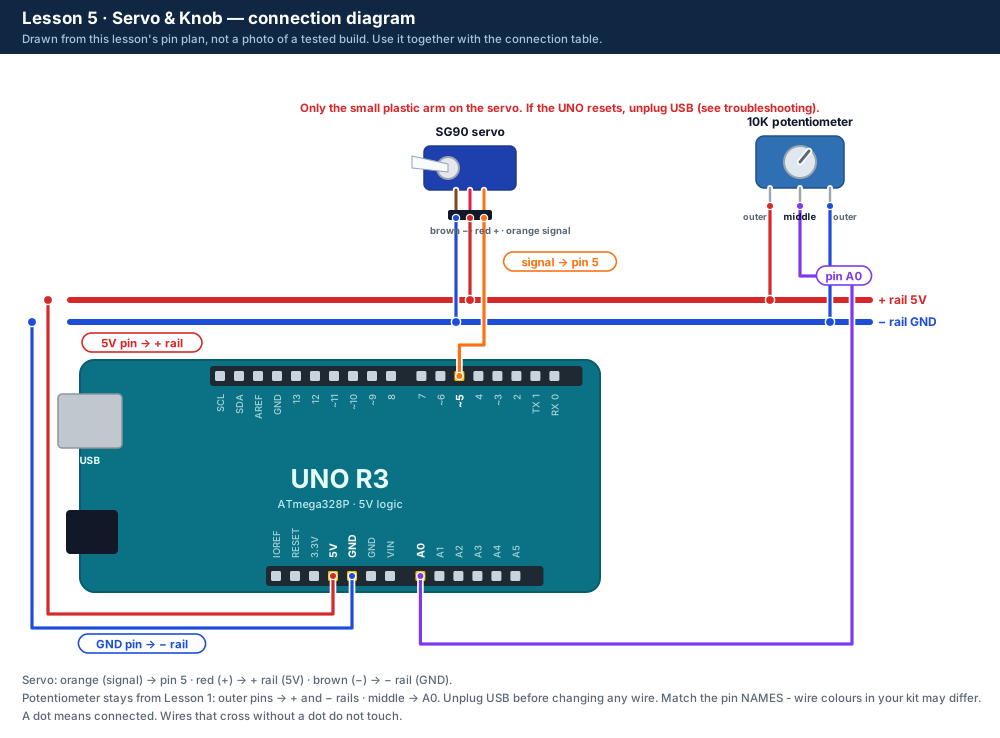
Unplug USB before you change any wire. Pin names are the labels printed on the board.
| Part / pin | Connect to | Note |
|---|---|---|
| Servo orange (signal) | UNO pin 5 | Pin 5 has a ~ mark |
| Servo red (+) | + rail (5V) | See the power warning in step 5 |
| Servo brown (−) | − rail (GND) | |
| Potentiometer middle pin | UNO A0 | Still wired from Lesson 1 |
Step by step
One thing at a time. Tick nothing off until it matches the diagram.
- Unplug the USB cable.Watch out: Always unplug the USB cable before you add, move or remove a wire.
- Press one small plastic arm onto the servo's shaft so you can see it move.Watch out: Don't fix anything else to the arm, and don't twist it by hand: that can strip the servo's plastic gears.
- Push three male-to-male jumper wires into the servo's plug. Connect orange to UNO pin 5, red to the + rail and brown to the − rail.
- Check the potentiometer's middle pin is still on A0.
- Plug in USB and upload the Lesson 5 code.Watch out: If the UNO's lights flicker, it keeps restarting or the servo twitches, unplug USB straight away and read "If it doesn't work".
- Turn the knob slowly. Then let go and wait 4 seconds.
Sketch for this project
Written for the board in the kit. Copy it into the Arduino IDE; change the pin numbers if you wire it differently.
/*
  DIY KIT - Arduino UNO Sensor & Output Starter Kit
  Lesson 5 of 7: Servo & Knob

  WIRING (unplug the USB cable before you wire)
    SG90 servo, using 3 male-to-male jumper wires in its plug:
      orange (signal) -> UNO pin 5
      red (+)         -> 5V
      brown (-)       -> GND
    Potentiometer (still wired from Lesson 1):
      outer pins -> 5V and GND, middle pin -> UNO pin A0
    Parts from Lessons 1-4 can stay where they are.

  POWER: fit only the small plastic arm - nothing else on the servo.
  If the UNO resets or the servo twitches, unplug USB and read the
  troubleshooting table on the lesson page.

  WHAT SHOULD HAPPEN
    Turn the knob: the arm follows it. Let go for 4 seconds: the arm
    sweeps back and forth by itself until you turn the knob again.
*/

#include <Servo.h>   // comes with the Arduino IDE - nothing to install

const int SERVO_PIN = 5;
const int KNOB_PIN  = A0;

const int MIN_ANGLE = 10;    // the servo's travel limits, in degrees
const int MAX_ANGLE = 170;   // (0 and 180 can make some servos buzz at the end)
const int SWEEP_STEP = 2;                      // degrees per step while sweeping
const unsigned long SWEEP_STEP_MS = 20;        // smaller = faster sweep
const unsigned long WAIT_BEFORE_SWEEP_MS = 4000;
const int KNOB_DEADBAND = 8;                   // ignore tiny wobbles of the knob

Servo servo;
int lastKnob = -1000;
unsigned long lastKnobMove = 0;
int sweepAngle = 90;
int sweepDirection = 1;        // +1 = counting up, -1 = counting down
unsigned long lastSweepStep = 0;

void setup() {
  servo.attach(SERVO_PIN);     // the Servo library now pulses pin 5 for us
  servo.write(90);             // start in the middle
  Serial.begin(9600);
  Serial.println("Lesson 5: Servo & Knob - turn the knob, or wait for the sweep");
}

void loop() {
  int knob = analogRead(KNOB_PIN);   // 0 ... 1023

  if (abs(knob - lastKnob) > KNOB_DEADBAND) {
    // The knob moved: the arm follows it.
    lastKnob = knob;
    lastKnobMove = millis();
    int angle = map(knob, 0, 1023, MIN_ANGLE, MAX_ANGLE);
    servo.write(angle);
    sweepAngle = angle;
    Serial.print("knob ");
    Serial.print(knob);
    Serial.print(" -> ");
    Serial.print(angle);
    Serial.println(" degrees");
  } else if (millis() - lastKnobMove > WAIT_BEFORE_SWEEP_MS && millis() - lastSweepStep > SWEEP_STEP_MS) {
    // Nobody touched the knob for 4 seconds: sweep by ourselves.
    lastSweepStep = millis();
    sweepAngle = sweepAngle + sweepDirection * SWEEP_STEP;
    if (sweepAngle >= MAX_ANGLE) { sweepAngle = MAX_ANGLE; sweepDirection = -1; }
    if (sweepAngle <= MIN_ANGLE) { sweepAngle = MIN_ANGLE; sweepDirection = 1; }
    servo.write(sweepAngle);
  }

  delay(10);
}Upload it
- Click Copy (or Download .ino and open the file).
- In the Arduino IDE choose File → New Sketch, select everything in it and paste.
- Check the bottom of the window says Arduino Uno and your port (Start here, step 5).
- Click Upload (the → arrow) and wait for Done uploading.
How the code works
| In the code | What it does |
|---|---|
| #include <Servo.h> | Loads the Servo library. |
| servo.attach(SERVO_PIN) | Tells the library which pin the servo's signal wire is on. |
| map(knob, 0, 1023, MIN_ANGLE, MAX_ANGLE) | Changes the knob number into an angle. |
| KNOB_DEADBAND | Ignores tiny changes, so the servo doesn't jitter when nobody touches the knob. |
| millis() - lastKnobMove > WAIT_BEFORE_SWEEP_MS | True when the knob has been still for 4 seconds: time to sweep. |
Change it and see
What you should see or hear
- The arm follows the knob from one end of its travel to the other.
- The Serial Monitor prints lines like: knob 512 -> 90 degrees.
- After 4 seconds without touching the knob, the arm sweeps back and forth until you turn the knob again.
If it doesn't work
| Problem | What to check |
|---|---|
| The UNO restarts, its lights flicker, or the servo twitches | Unplug USB. The servo is taking more current than the USB port gives. Try a USB port on the computer itself (not a hub). If it still happens, stop and ask an adult: Lesson 7 shows how to give the servo its own 5V supply. |
| The servo buzzes at the end of its travel | Some servos can't reach the very end. Keep MIN_ANGLE at 10 and MAX_ANGLE at 170, or make the range smaller. |
| The servo doesn't move at all | Check orange is on pin 5, red on the + rail and brown on the − rail. |
| The knob works backwards | Swap the potentiometer's two outer wires. |
Small experiment
Stick a small paper pointer on the arm and draw a scale behind it (10°, 90°, 170°). When the Serial Monitor says 90 degrees, does the pointer really point to the middle?
Check what you learned
What are the three servo wires for?
Brown is −, red is +, orange is the signal.
What does map() do here?
It changes the knob range 0-1023 into the angle range 10-170.
How does the sketch know you stopped turning the knob?
It compares millis() with the time the knob last moved.
Next
- Lesson 6 adds the LCD. The potentiometer moves to become the LCD's contrast knob.
Stuck?
Most problems are one wire in the wrong hole. Check these first:
- Unplug, then compare every wire with the lesson's diagram and table. One pin off is the most common problem.
- LEDs: is the long leg on the resistor side?
- Is the − rail connected to a UNO GND pin, and the + rail to 5V?
- Upload problems: is Tools → Board set to Arduino Uno and Tools → Port to your UNO? (Start here, step 5.)
- Read the lesson's "If it doesn't work" table and find the line that matches what you see.
Open the troubleshooting table for this step →
Hi DIY KIT, I'm stuck on the Arduino UNO Sensor & Output Starter Kit.
Lesson: __
Step number: __
What should happen: __
What happens instead: __
Error message (copied exactly): __
I'll attach a photo of my wiring.
More from this kit
Lesson 1: LED Basics & Brightness
Blink an LED, then fade it with a knob. Learn which LED leg is +, why every LED needs a resistor, and how the UNO dims a light. Do Start here first.
Lesson 2: Traffic Light
Three LEDs run the red, red + yellow, green, yellow cycle of a real traffic light. Learn timing with delay() and write your own function.
Lesson 3: Buzzer Patterns
The buzzer plays a slow beep, a fast alarm and SOS in Morse code. Type 0-3 in the Serial Monitor to choose: your first commands from the computer.
