Lesson 4: Ultrasonic Distance
Measure distance with sound. The HC-SR04 times an echo, the UNO turns it into centimetres, and the Serial Plotter draws it as a live graph.
Before you start
Exact parts
| Part | How many |
|---|---|
| UNO R3 + USB cable | 1 |
| HC-SR04 distance sensor | 1 |
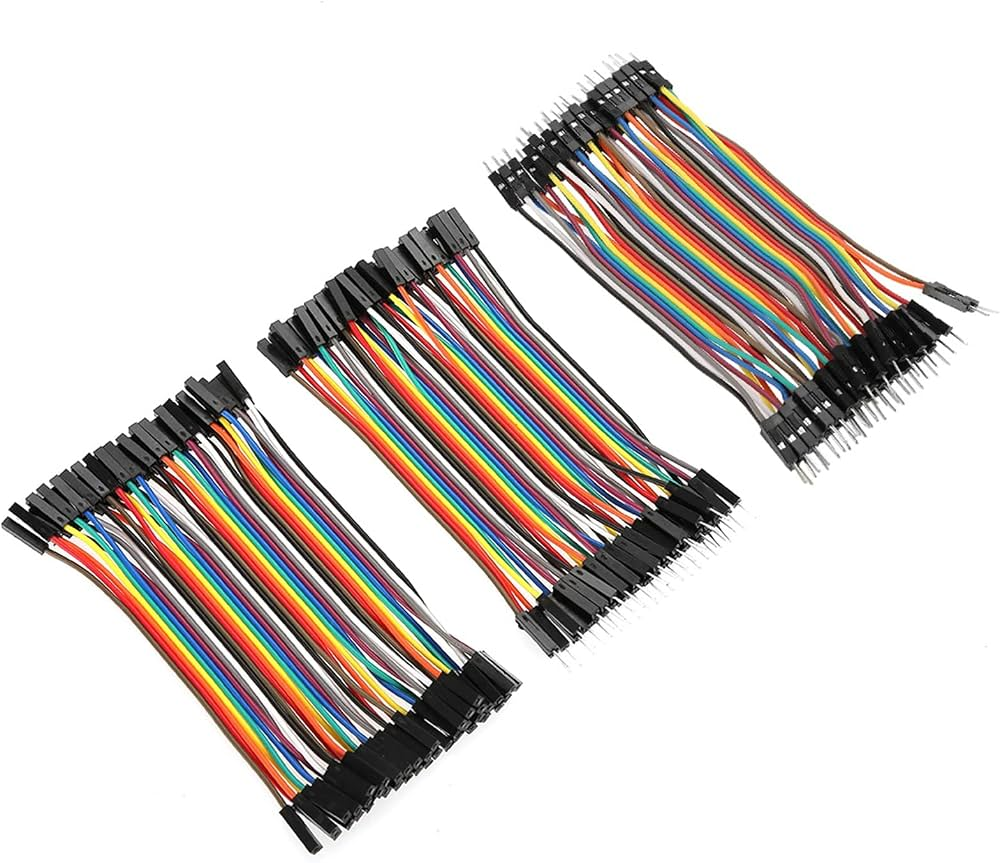
| Jumper wires | 4 |
| A book or flat box, and a ruler (yours) | 1 |
Not in the box
Nothing extra - just the kit and your computer.
What you build and learn
- How sonar works: sound out, echo back
- Timing a pulse with pulseIn()
- Why the middle (median) of 5 readings is steadier
- Drawing live graphs with the Serial Plotter
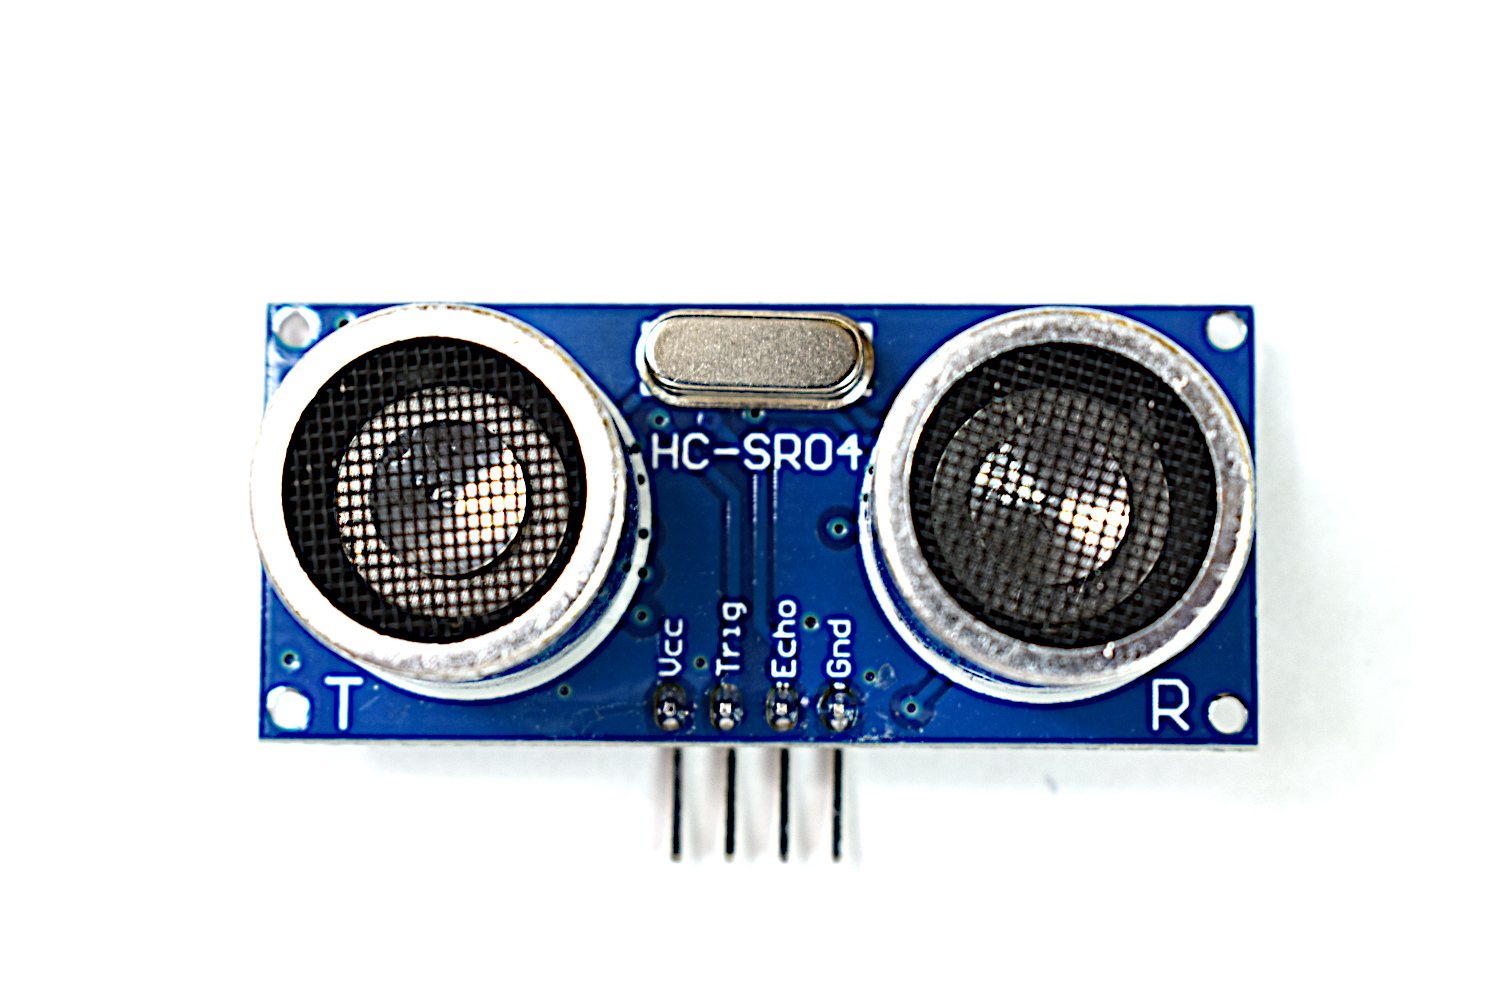
The HC-SR04 has two round "eyes": one sends a short burst of ultrasound, the other listens for the echo. The sketch starts a measurement with a 10 µs pulse on TRIG.
The sensor then keeps ECHO HIGH until the echo comes back. pulseIn() measures how long that was, in microseconds. Sound takes about 58 µs to go 1 cm and come back, so distance in cm = time ÷ 58.
Single readings sometimes jump. So the sketch also takes 5 readings, sorts them and keeps the middle one. Both numbers are printed, so you can compare them in the Serial Plotter.
New words
- Ultrasound
- Sound too high for people to hear. This sensor uses 40 kHz.
- Echo
- Sound that bounces back off an object.
- Microsecond (µs)
- One millionth of a second.
- Median
- The middle value after sorting a list. One wild number cannot move it much.
- Serial Plotter
- Tools → Serial Plotter: draws the numbers the UNO sends as moving lines.
What this project uses
Every item is in the kit — nothing extra to buy.

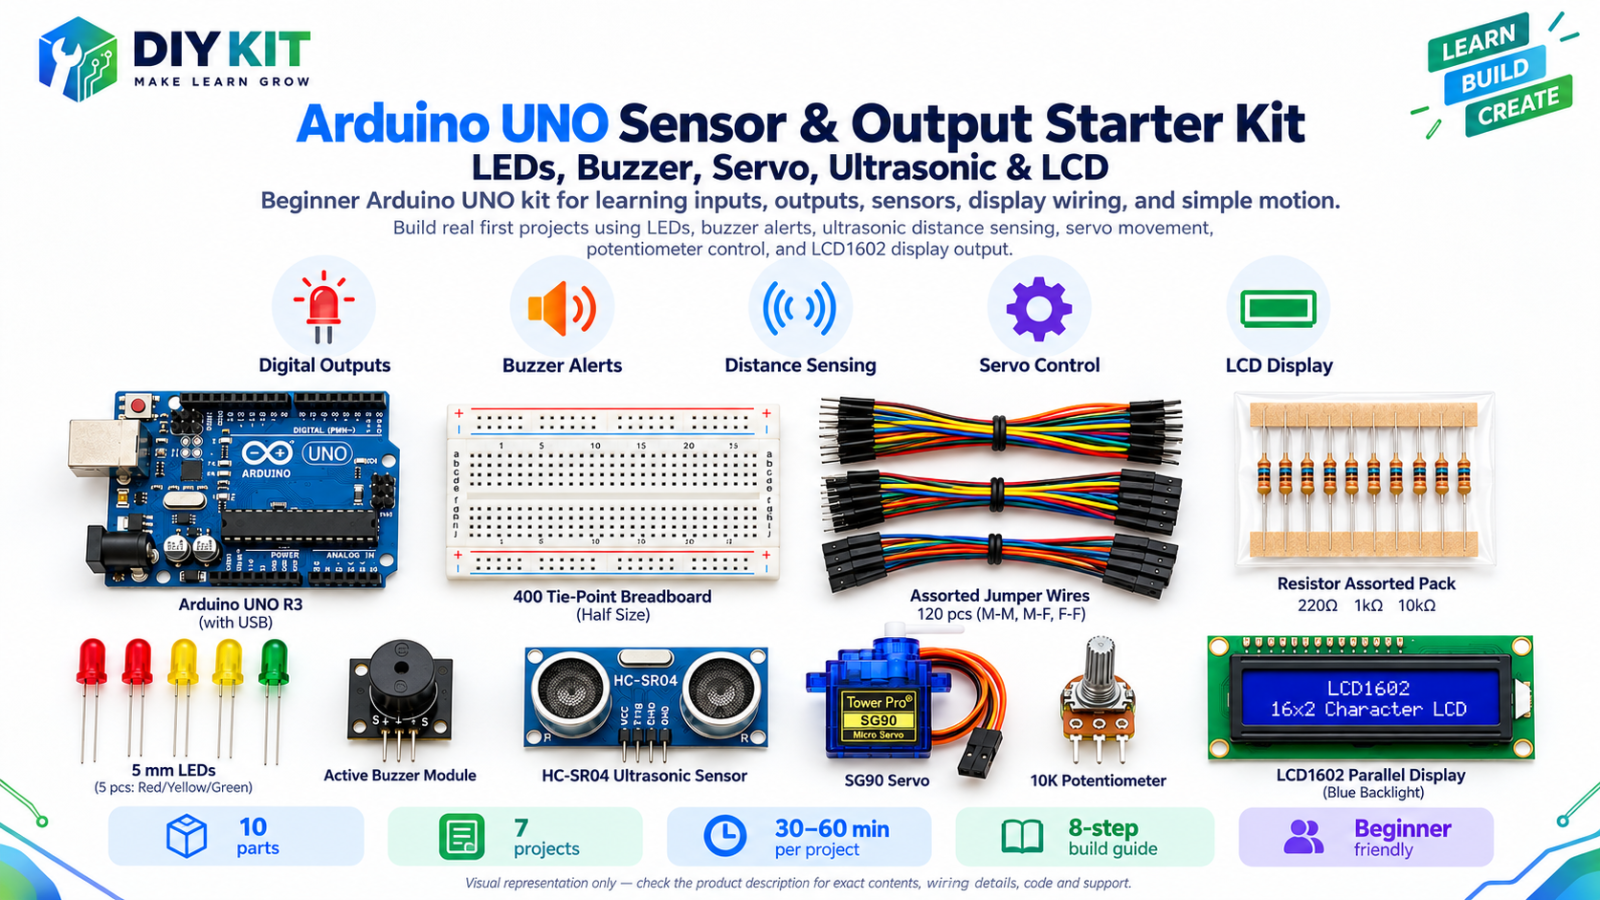
Arduino UNO Sensor & Output Starter Kit - LEDs, Buzzer, Servo, Ultrasonic & LCD
All 10 parts in one box, with this project and 6 more to build from them.
Need only these parts? Order them loose · from AED 78.30
One of each part. Packs (resistor assortment, jumper wires) already hold more than a single build needs. Delivery is AED 20, free on orders AED 100+.
Connections
Unplug USB before you change any wire. Pin names are the labels printed on the board.
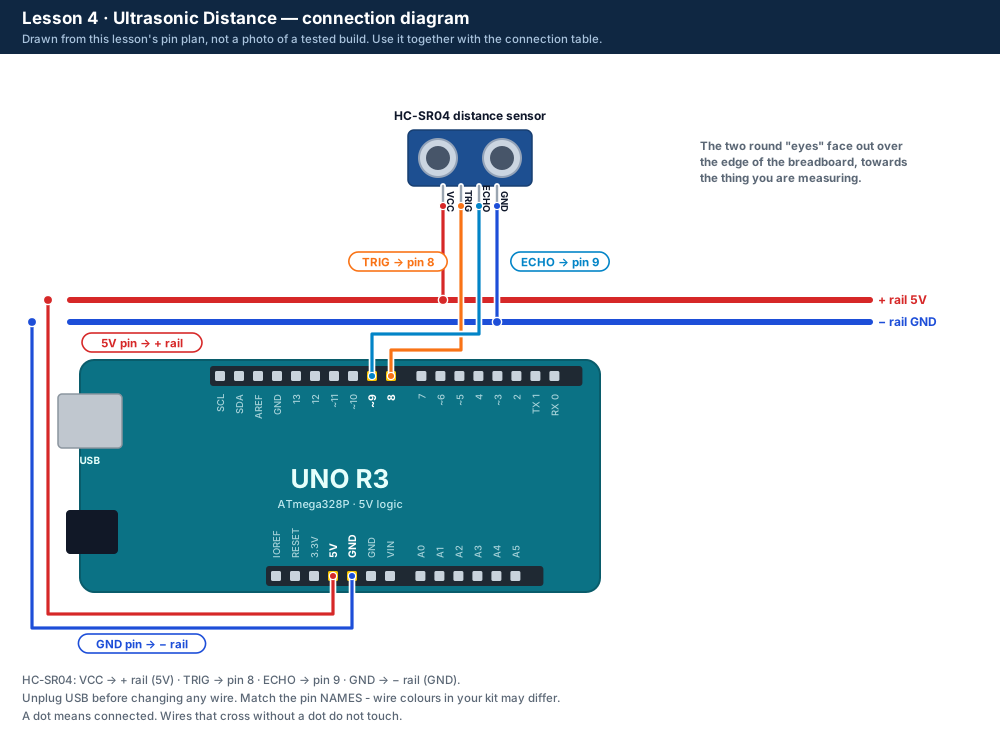
| Part / pin | Connect to | Note |
|---|---|---|
| HC-SR04 VCC | + rail (5V) | |
| HC-SR04 TRIG | UNO pin 8 | |
| HC-SR04 ECHO | UNO pin 9 | |
| HC-SR04 GND | − rail (GND) |
Step by step
One thing at a time. Tick nothing off until it matches the diagram.
- Unplug the USB cable.Watch out: Always unplug the USB cable before you add, move or remove a wire.
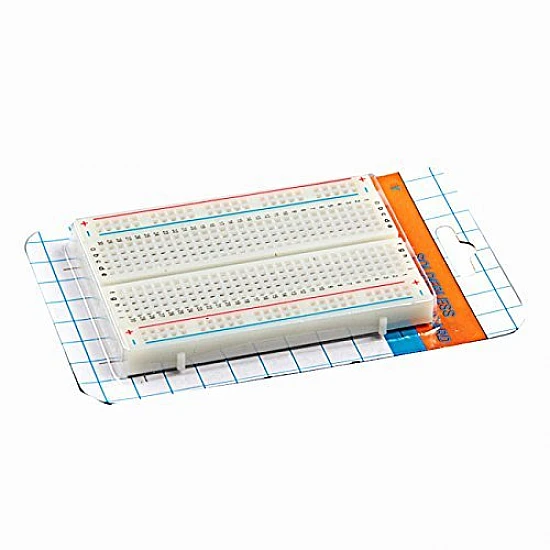
- Push the sensor into the breadboard with its two eyes facing out over the edge.
- Wire VCC to the + rail, TRIG to UNO pin 8, ECHO to UNO pin 9 and GND to the − rail.Watch out: Read the pin names on the sensor: VCC and GND must not be swapped.
- Plug in USB and upload the Lesson 4 code.
- Open Tools → Serial Plotter and set it to 9600 baud.
- Hold a book flat in front of the sensor. Move it slowly between 5 cm and 1 m and check a few readings with a ruler.
Sketch for this project
Written for the board in the kit. Copy it into the Arduino IDE; change the pin numbers if you wire it differently.
/*
  DIY KIT - Arduino UNO Sensor & Output Starter Kit
  Lesson 4 of 7: Ultrasonic Distance

  WIRING (unplug the USB cable before you wire)
    HC-SR04 VCC  -> 5V
    HC-SR04 TRIG -> UNO pin 8
    HC-SR04 ECHO -> UNO pin 9
    HC-SR04 GND  -> GND
    Parts from Lessons 1-3 can stay where they are.

  WHAT SHOULD HAPPEN
    Open Tools > Serial Plotter (9600 baud). Move a book slowly towards and
    away from the sensor. Two lines follow it: raw_cm (jumpy) and
    median_cm (smoother). 0 means "no echo" - nothing in range.
*/

const int TRIG_PIN = 8;   // we send the "click" from here
const int ECHO_PIN = 9;   // the sensor answers on this pin

const unsigned long ECHO_TIMEOUT_US = 30000;  // give up after 30 ms (about 5 m there and back)
const int MIN_CM = 2;      // closer than this the sensor cannot measure
const int MAX_CM = 400;    // further than this is out of range
const int SAMPLES = 5;     // readings in each median - try 1 or 9
const unsigned long REPORT_MS = 250;  // a new line 4 times a second

// One measurement in centimetres, or 0 if no echo came back.
long readOnceCm() {
  digitalWrite(TRIG_PIN, LOW);
  delayMicroseconds(2);
  digitalWrite(TRIG_PIN, HIGH);   // a 10-microsecond pulse starts the measurement
  delayMicroseconds(10);
  digitalWrite(TRIG_PIN, LOW);

  // pulseIn() times how long ECHO stays HIGH, in microseconds.
  unsigned long us = pulseIn(ECHO_PIN, HIGH, ECHO_TIMEOUT_US);
  if (us == 0) return 0;          // no echo

  // Sound goes there and back: 58 microseconds for every centimetre of distance.
  long cm = us / 58;
  if (cm < MIN_CM || cm > MAX_CM) return 0;
  return cm;
}

// Take several readings, sort them, keep the middle one (the median).
// One wild reading cannot move the middle value much.
long medianCm() {
  long v[SAMPLES];
  for (int i = 0; i < SAMPLES; i++) {
    v[i] = readOnceCm();
    delay(20);  // let the last echo die away
  }
  for (int i = 1; i < SAMPLES; i++) {   // sort, smallest first
    long key = v[i];
    int j = i - 1;
    while (j >= 0 && v[j] > key) {
      v[j + 1] = v[j];
      j--;
    }
    v[j + 1] = key;
  }
  return v[SAMPLES / 2];
}

void setup() {
  pinMode(TRIG_PIN, OUTPUT);
  pinMode(ECHO_PIN, INPUT);
  Serial.begin(9600);
  Serial.println("Lesson 4: Ultrasonic Distance");
}

void loop() {
  long raw = readOnceCm();
  long smooth = medianCm();

  // "name:value,name:value" is the format the Serial Plotter draws.
  Serial.print("raw_cm:");
  Serial.print(raw);
  Serial.print(",median_cm:");
  Serial.println(smooth);

  delay(REPORT_MS);
}Upload it
- Click Copy (or Download .ino and open the file).
- In the Arduino IDE choose File → New Sketch, select everything in it and paste.
- Check the bottom of the window says Arduino Uno and your port (Start here, step 5).
- Click Upload (the → arrow) and wait for Done uploading.
How the code works
| In the code | What it does |
|---|---|
| readOnceCm() | Sends one pulse on TRIG, times the echo with pulseIn() and turns microseconds into centimetres (÷ 58). Returns 0 if no echo came back. |
| medianCm() | Takes SAMPLES readings, sorts them and returns the middle one. |
| Serial.print("raw_cm:") ... | Prints name:value pairs - the format the Serial Plotter draws as two labelled lines. |
Change it and see
What you should see or hear
- Two lines in the Serial Plotter, raw_cm and median_cm, that go up as you move the book away.
- On a flat, hard target between 5 cm and 1 m the numbers are close to what the ruler says.
- 0 when nothing is in range, or the target is closer than about 2 cm.
If it doesn't work
| Problem | What to check |
|---|---|
| Always 0 | TRIG and ECHO are swapped, or VCC is not on the + rail. Check the 4 wires against the table. |
| Numbers jump around | Use a flat, hard target held straight in front. Soft things (cushions, clothes) and slanted surfaces scatter the sound. |
| The plotter shows nothing | Check the speed is 9600 baud and the port is your UNO. |
| Readings far too big | The sensor may be seeing something behind your target, like a wall. Move the target closer. |
Small experiment
Point the sensor at a cushion and then at a book, at the same distance. Which gives steadier readings, and why?
Check what you learned
Why do we divide by 58?
Sound takes about 58 µs to travel 1 cm to the target and 1 cm back.
What does a reading of 0 mean?
No echo came back - nothing in range.
Why is the median steadier than one reading?
A single wild reading ends up at one end of the sorted list, not in the middle.
Next
- Lesson 5 adds the servo on pin 5.
Stuck?
Most problems are one wire in the wrong hole. Check these first:
- Unplug, then compare every wire with the lesson's diagram and table. One pin off is the most common problem.
- LEDs: is the long leg on the resistor side?
- Is the − rail connected to a UNO GND pin, and the + rail to 5V?
- Upload problems: is Tools → Board set to Arduino Uno and Tools → Port to your UNO? (Start here, step 5.)
- Read the lesson's "If it doesn't work" table and find the line that matches what you see.
Open the troubleshooting table for this step →
Hi DIY KIT, I'm stuck on the Arduino UNO Sensor & Output Starter Kit.
Lesson: __
Step number: __
What should happen: __
What happens instead: __
Error message (copied exactly): __
I'll attach a photo of my wiring.
More from this kit
Lesson 7: Parking Assistant & Sensor Dashboard
The final build uses every part: LEDs show the zone, the buzzer warns when too close, the LCD shows the distance and the servo swings like a gauge. A separate 5V servo s…
Lesson 1: LED Basics & Brightness
Blink an LED, then fade it with a knob. Learn which LED leg is +, why every LED needs a resistor, and how the UNO dims a light. Do Start here first.
Lesson 2: Traffic Light
Three LEDs run the red, red + yellow, green, yellow cycle of a real traffic light. Learn timing with delay() and write your own function.
