Lesson 1: Button & OLED Countdown
Wire the OLED screen and a button, then make a 20-second countdown that a press starts and a second press cancels.
Before you start
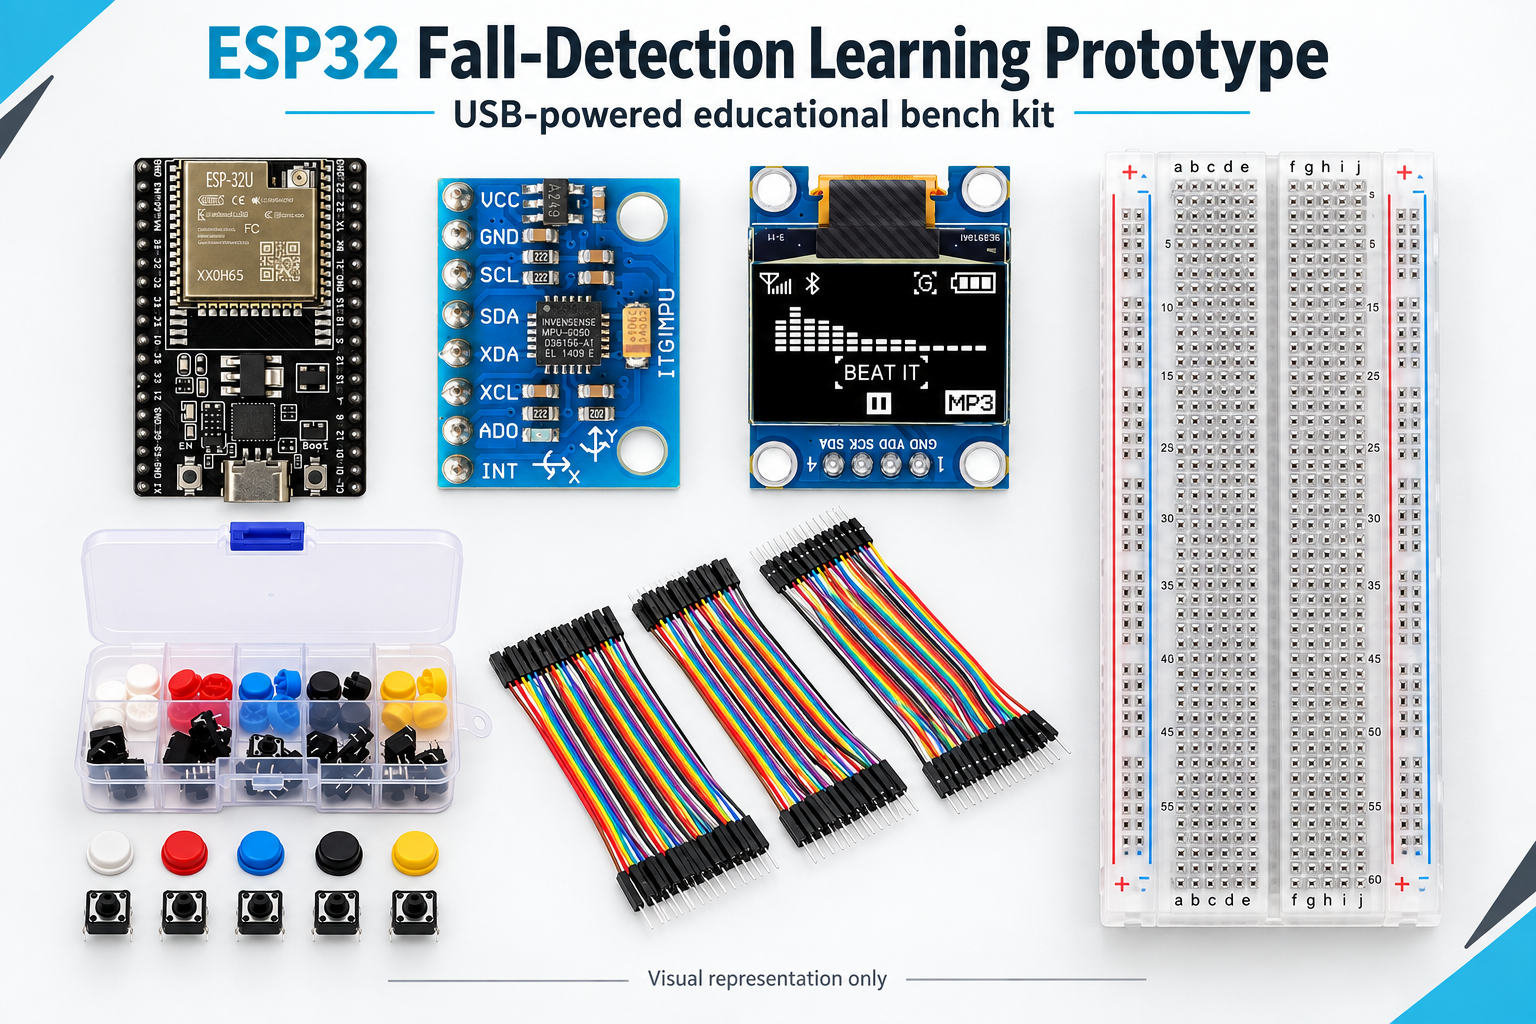
Exact parts
| Part | How many |
|---|---|
| ESP32U board + your USB-C data cable | 1 |
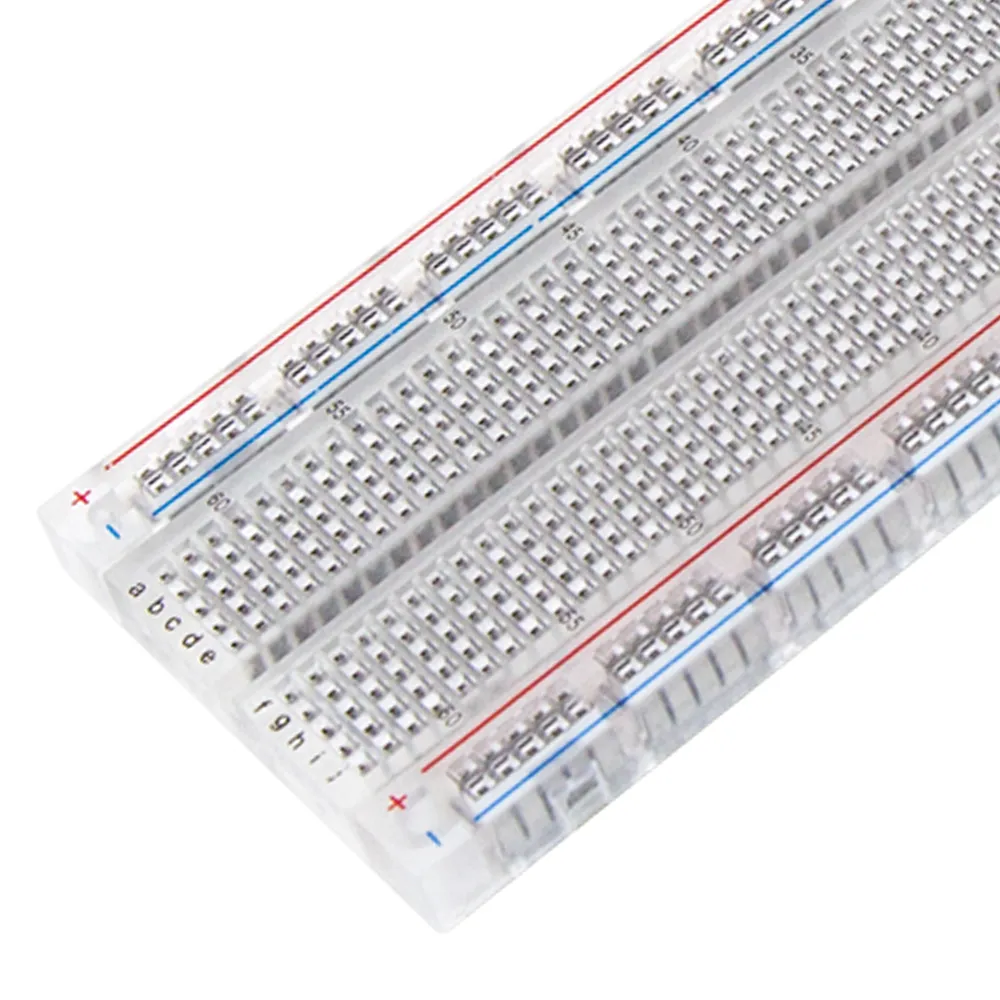
| 830-point breadboard | 1 |
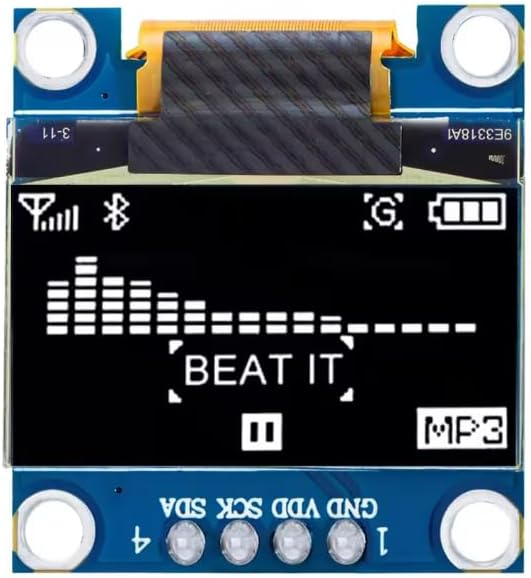
| 0.96" OLED display | 1 |
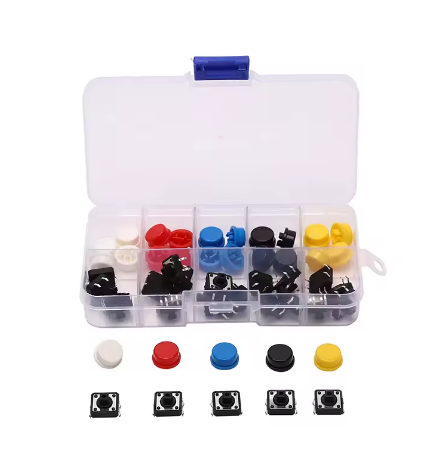
| Push button (from the pack of 25) | 1 |
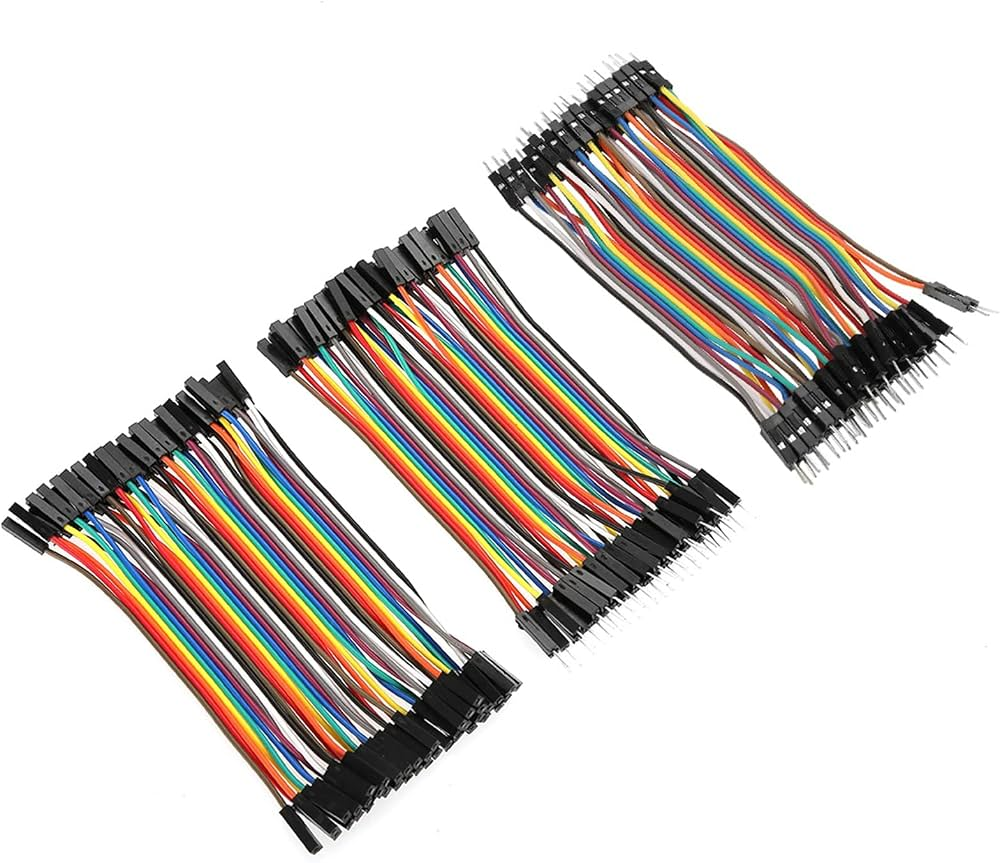
| Female-to-male jumper wires | about 6 |
| Male-to-male jumper wires | about 4 |
Not in the box
Nothing extra - just the kit and your computer.
What you build and learn
- Installing a library: Adafruit SSD1306
- I2C: one pair of wires (SDA, SCL) for a whole screen
- Reading a button with INPUT_PULLUP and debouncing it
- Timing with millis() instead of delay()
The OLED has its own controller chip. The Adafruit SSD1306 library talks to it over I2C on GPIO21 (SDA) and GPIO22 (SCL), so the sketch only says what to draw.
INPUT_PULLUP holds GPIO26 HIGH. Pressing the button connects it to GND, so the pin reads LOW. That is why the button goes between GPIO26 and GND, with no resistor.
Metal contacts bounce for a few milliseconds. pressedNow() only believes a change that lasts 35 ms, so one press counts once.
The countdown never waits: each time round loop() it works out the seconds left from millis(), so the button is read all the time.
New words
- 3V3
- The ESP32's 3.3 V power pin. Every part in this kit runs on 3.3 V.
- GPIO
- General-purpose input/output: a numbered pin the code can read or switch, such as GPIO26.
- I2C
- A way for chips to talk over two wires: SDA (data) and SCL (clock).
- Pull-up
- A built-in resistor that holds a pin HIGH until a button pulls it LOW.
- Debounce
- Ignoring the few milliseconds of flicker when a button's metal contacts touch.
What this project uses
Every item is in the kit — nothing extra to buy.
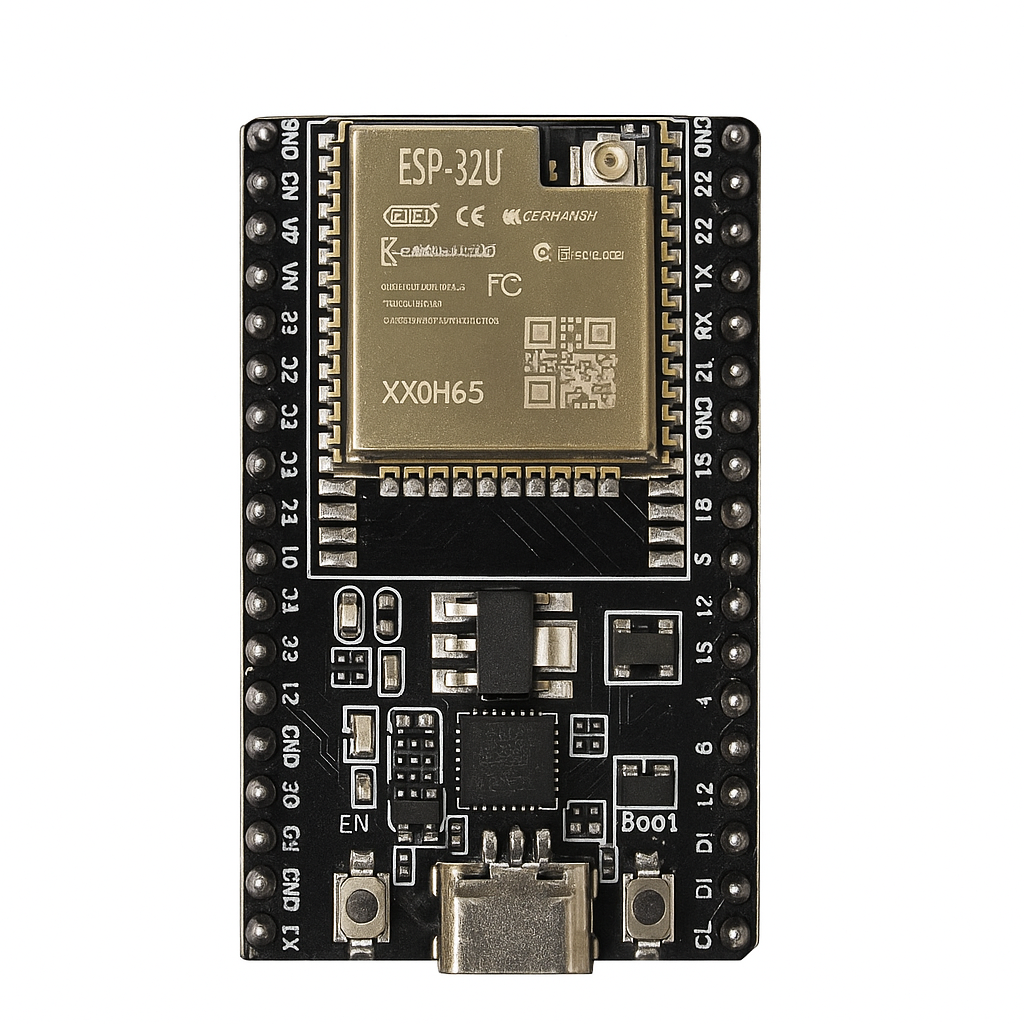
ESP32 Fall-Detection Learning Prototype
All 6 parts in one box, with this project and 4 more to build from them.
Need only these parts? Order them loose · from AED 111.99
One of each part. Packs (resistor assortment, jumper wires) already hold more than a single build needs. Backorder parts ship once they arrive. Delivery is AED 20, free on orders AED 100+.
Connections
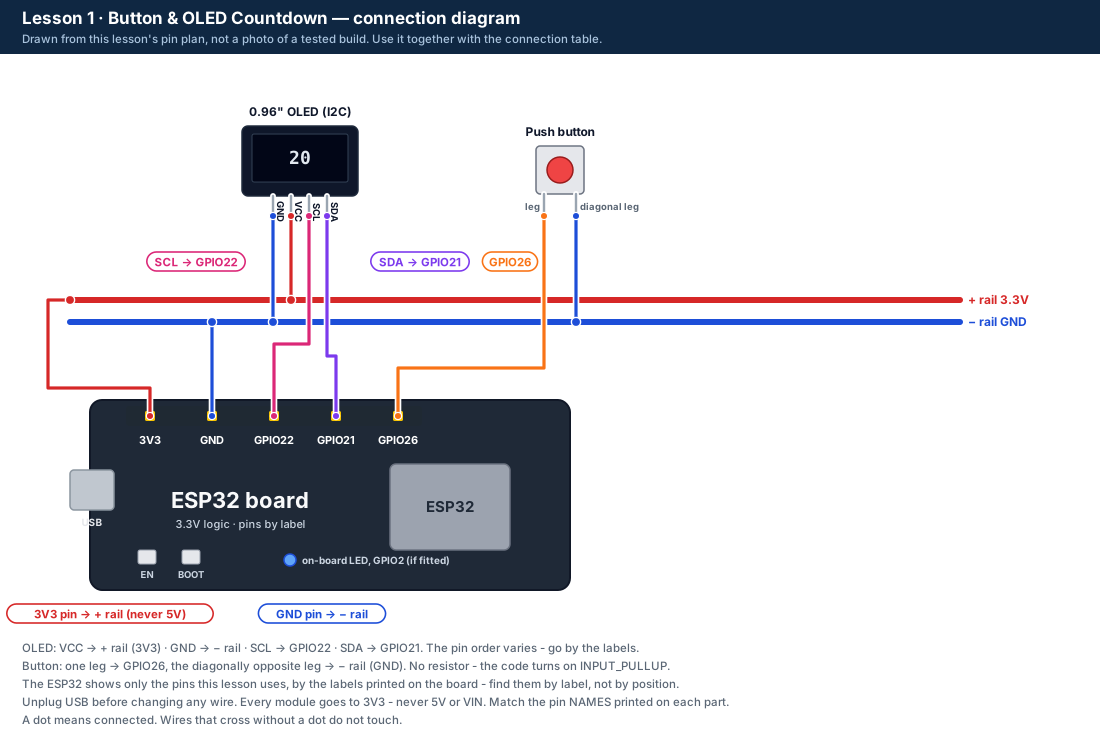
Unplug USB before you change any wire. Pin names are the labels printed on the board.
| Part / pin | Connect to | Note |
|---|---|---|
| ESP32 3V3 | + rail of the breadboard | NOT 5V or VIN - every part in this kit runs on 3.3 V |
| ESP32 GND | − rail of the breadboard | Shared ground for everything |
| OLED VCC | + rail (3V3) | Go by the labels on the OLED - the pin order varies |
| OLED GND | − rail (GND) | |
| OLED SDA | GPIO21 | I2C data |
| OLED SCL | GPIO22 | I2C clock |
| Button leg | GPIO26 | |
| Button leg diagonally opposite | − rail (GND) | Diagonal legs are never joined inside, so the press always counts |
Step by step
One thing at a time. Tick nothing off until it matches the diagram.
- Install the display library: in the Arduino IDE open Tools → Manage Libraries, search Adafruit SSD1306, click Install and choose Install All.
- Unplug the USB cable.Watch out: Always unplug the USB cable before you add, move or remove a wire.
- Put the ESP32 next to the breadboard, not on it. It is too wide to leave free holes on both sides. Use female-to-male jumper wires from its pins.Watch out: Put the ESP32 on a dry table, away from coins and other metal.
- Find the pins labelled 3V3 and GND on the ESP32. Wire 3V3 to the + rail and GND to the − rail.Watch out: Use 3V3, never 5V or VIN, for the parts in this kit.
- Push the OLED into the breadboard. Read its 4 labels, then wire VCC to the + rail, GND to the − rail, SDA to GPIO21 and SCL to GPIO22.Watch out: Go by the labels on your OLED. VCC and GND swapped can damage it.
- Push one button across the middle gap of the breadboard. Wire one leg to GPIO26 and the leg diagonally opposite to the − rail.
- Check every wire against the diagram and the table, then plug the USB cable back in.Watch out: If anything gets hot or smells, unplug straight away.
- Copy the Lesson 1 code below into the Arduino IDE and click Upload (→). Open the Serial Monitor at 115200 baud.
- Press the button: the countdown starts. Press again: it is cancelled. Let it run to 0 once.
Sketch for this project
Written for the board in the kit. Copy it into the Arduino IDE; change the pin numbers if you wire it differently.
/*
  DIY KIT - ESP32 Fall-Detection Learning Prototype
  Lesson 1 of 5: Button & OLED Countdown

  WIRING (unplug the USB cable before you wire)
    OLED  VCC -> 3V3    GND -> GND    SDA -> GPIO21    SCL -> GPIO22
    Push button: one leg -> GPIO26, the leg diagonally opposite -> GND
    (The ESP32's built-in pull-up keeps GPIO26 HIGH until you press.)

  WHAT SHOULD HAPPEN
    The OLED says "press to start". Press the button: a 20-second countdown
    runs in big numbers. Press again to cancel. If it reaches 0 the screen
    says EXPIRED - in Lesson 5 this is where the alert starts.
    Serial Monitor at 115200 baud shows the same messages.
*/

#include <Wire.h>
#include <Adafruit_GFX.h>
#include <Adafruit_SSD1306.h>

const int SDA_PIN = 21;
const int SCL_PIN = 22;
const int BUTTON_PIN = 26;
const int LED_PIN = 2;               // the small LED on many ESP32 boards; yours may not have one
const int COUNTDOWN_S = 20;          // seconds - try 5 while testing
const unsigned long DEBOUNCE_MS = 35;

Adafruit_SSD1306 display(128, 64, &Wire, -1);
bool displayOk = false;

bool counting = false;
unsigned long countdownStart = 0;
int lastShown = -1;
bool rawButton = HIGH, stableButton = HIGH;
unsigned long rawSince = 0;

// True once each time the button is pressed (not while it is held).
// A contact "bounces" for a few ms, so we wait DEBOUNCE_MS before believing it.
bool pressedNow() {
  bool reading = digitalRead(BUTTON_PIN);
  if (reading != rawButton) {
    rawButton = reading;
    rawSince = millis();
  }
  if (millis() - rawSince > DEBOUNCE_MS && reading != stableButton) {
    stableButton = reading;
    return stableButton == LOW;      // pull-up: LOW means pressed
  }
  return false;
}

// Most of these displays answer at I2C address 0x3C, some at 0x3D. Try both.
bool startDisplay() {
  if (display.begin(SSD1306_SWITCHCAPVCC, 0x3C)) { Serial.println("OLED found at 0x3C"); return true; }
  if (display.begin(SSD1306_SWITCHCAPVCC, 0x3D)) { Serial.println("OLED found at 0x3D"); return true; }
  Serial.println("OLED not found - unplug USB and check VCC, GND, SDA (GPIO21), SCL (GPIO22)");
  return false;
}

// Two lines of small text and, if seconds >= 0, a big number.
void show(const char *line1, const char *line2, int seconds) {
  if (!displayOk) return;
  display.clearDisplay();
  display.setTextColor(SSD1306_WHITE);
  display.setTextSize(1);
  display.setCursor(0, 0);
  display.println("COUNTDOWN LAB");
  display.println(line1);
  if (seconds >= 0) {
    display.setTextSize(3);
    display.setCursor(0, 22);
    display.println(seconds);
  }
  display.setTextSize(1);
  display.setCursor(0, 56);
  display.println(line2);
  display.display();                 // nothing appears until display() is called
}

void setup() {
  Serial.begin(115200);
  pinMode(BUTTON_PIN, INPUT_PULLUP);
  pinMode(LED_PIN, OUTPUT);
  Wire.begin(SDA_PIN, SCL_PIN);
  displayOk = startDisplay();
  show("ready", "press to start", -1);
  Serial.println("Lesson 1: press the button to start the countdown, press again to cancel");
}

void loop() {
  if (pressedNow()) {
    if (counting) {
      counting = false;
      Serial.println("CANCELLED");
      show("cancelled", "press to start", -1);
    } else {
      counting = true;
      countdownStart = millis();
      lastShown = -1;
      Serial.println("COUNTDOWN started");
    }
  }

  if (counting) {
    unsigned long used = millis() - countdownStart;
    int remaining = COUNTDOWN_S - (int)(used / 1000);
    unsigned long quarterSeconds = millis() / 250;
    digitalWrite(LED_PIN, quarterSeconds % 2 == 0 ? HIGH : LOW);   // blink while counting
    if (remaining <= 0) {
      counting = false;
      digitalWrite(LED_PIN, LOW);
      Serial.println("EXPIRED");
      show("EXPIRED", "press to start again", 0);
    } else if (remaining != lastShown) {
      lastShown = remaining;
      Serial.print("seconds left: ");
      Serial.println(remaining);
      show("counting down", "press to cancel", remaining);
    }
  } else {
    digitalWrite(LED_PIN, LOW);
  }
  delay(5);
}Upload it
- Click Copy (or Download .ino and open the file).
- In the Arduino IDE choose File → New Sketch, select everything in it and paste.
- Check the bottom of the window says Arduino Uno and your port (Start here, step 5).
- Click Upload (the → arrow) and wait for Done uploading.
How the code works
| In the code | What it does |
|---|---|
| const int BUTTON_PIN = 26; | Names for the pins. If you move a wire, change only this number. |
| pinMode(BUTTON_PIN, INPUT_PULLUP); | Turns on the built-in pull-up: the pin reads HIGH until the button connects it to GND. |
| pressedNow() | Our own function: true once for each press, after the contact has been steady for 35 ms. |
| startDisplay() | Tries the OLED at address 0x3C, then 0x3D, and says which one answered. |
| COUNTDOWN_S - (used / 1000) | Seconds left, worked out from millis() - nothing waits. |
Change it and see
What you should see or hear
- The Serial Monitor says "OLED found at 0x3C" (or 0x3D) and the OLED says "press to start".
- One press: the seconds count down in big numbers from 20. A second press: "cancelled".
- At 0: "EXPIRED". If your board has a small LED on GPIO2, it blinks while counting.
If it doesn't work
| Problem | What to check |
|---|---|
| "OLED not found" or a black screen | Unplug USB. Check OLED VCC to 3V3 (not 5V), GND, SDA to GPIO21 and SCL to GPIO22 - by the labels printed on the OLED. |
| The button does nothing | Unplug USB. Move one wire to the leg diagonally opposite: two legs on the same side can be joined inside the button. |
| The countdown starts by itself | GPIO26 is not wired to GND through the button, or a wire is loose. Check the button legs. |
| "Adafruit_SSD1306.h: No such file" | Install the library: step 1. |
| Nothing, or strange symbols, in the Serial Monitor | Set the speed in the corner of the Serial Monitor to 115200 baud. |
| The upload fails or stops at "Connecting..." | See Start here, step 6. |
Small experiment
Hold the button down. Does the countdown start when you press, or when you let go? Look at pressedNow() and explain why.
Check what you learned
Why is no resistor needed for the button?
INPUT_PULLUP turns on a resistor inside the ESP32.
What does the pin read while the button is pressed?
LOW - the button connects it to GND.
Why use millis() instead of delay(20000)?
delay() would freeze the program, so the button could not cancel the countdown.
Next
- Lesson 2 adds the GY-521 motion sensor on the same two I2C wires. Keep everything where it is.
Stuck?
Most problems are one wire in the wrong hole. Check these first:
- Unplug, then compare every wire with the lesson's diagram and table. One pin off is the most common problem.
- Are all VCC wires on 3V3 (not 5V or VIN), and all GND wires on GND?
- OLED and GY-521: SDA on GPIO21 and SCL on GPIO22, by the labels on each module?
- Serial Monitor: is it set to 115200 baud?
- Upload problems: Tools → Board = ESP32 Dev Module, the right port, and hold BOOT if it stops at "Connecting". (Start here, step 6.)
Open the troubleshooting table for this step →
Hi DIY KIT, I'm stuck on the ESP32 Fall-Detection Learning Prototype.
Lesson: __
Step number: __
What should happen: __
What happens instead: __
Error message (copied exactly): __
I'll attach a photo of my wiring.
More from this kit
Lesson 4: Buzzer Alert
Add the buzzer module (an optional add-on), powered from 3V3: an alert pattern the button acknowledges, with a 15-second time-out so it never runs for ever.
Lesson 2: Tilt Angle from a Baseline
The GY-521 learns which way is "upright" in 3 seconds, then the OLED shows how far you have tilted it from there - and flags 55°, the limit the main build uses.
Lesson 3: Motion Data Lab
Watch total g-force on a live graph and count every impact (above 2.5 g) and free fall (below 0.45 g). Choose the main build's limits from your own data.
