The sketch we ship with this kit. Copy it, or ask us for the version matched to your board.
/*
  Arduino UNO Sensor & Output Starter Kit
  Board: UNO R3
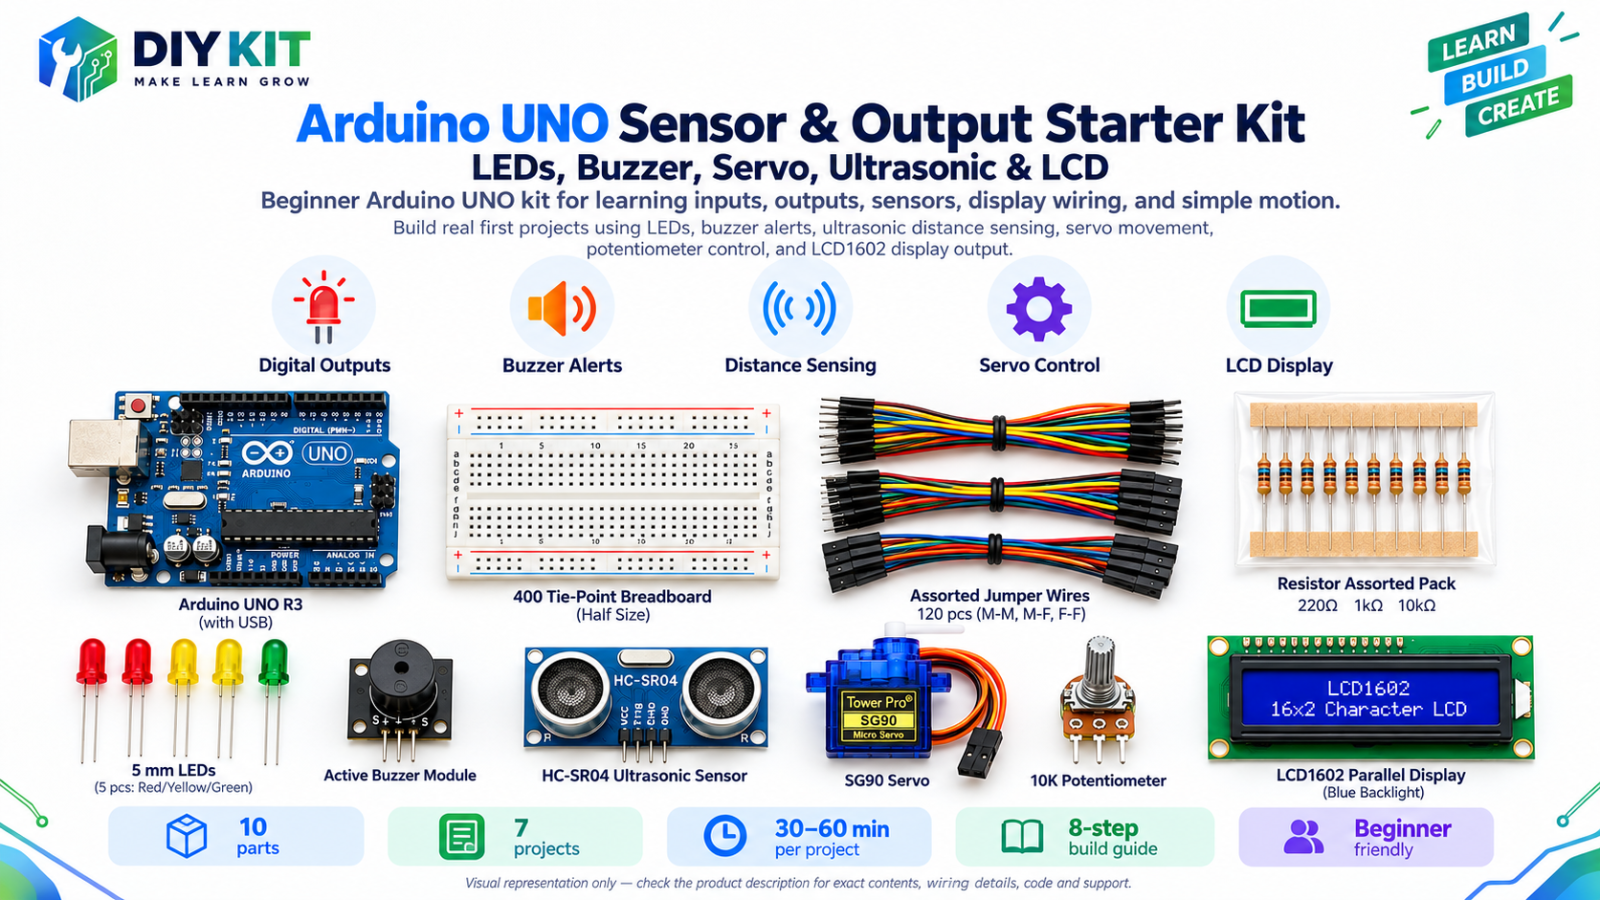
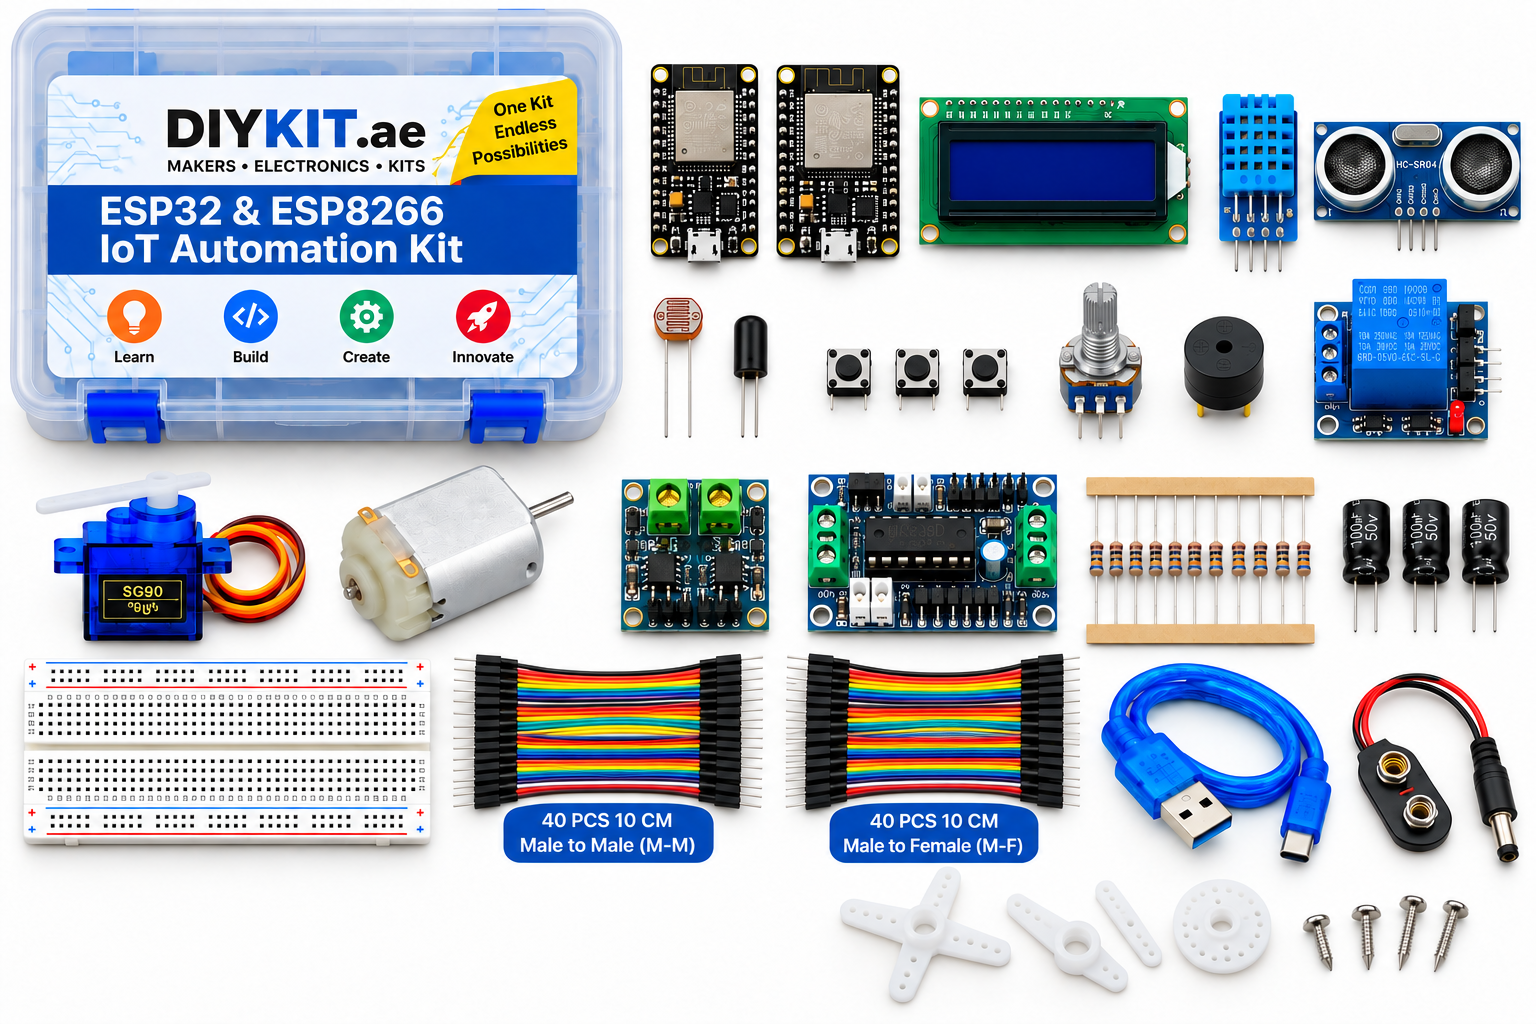
  Parts: LEDs, resistor pack, active buzzer, HC-SR04 ultrasonic sensor,
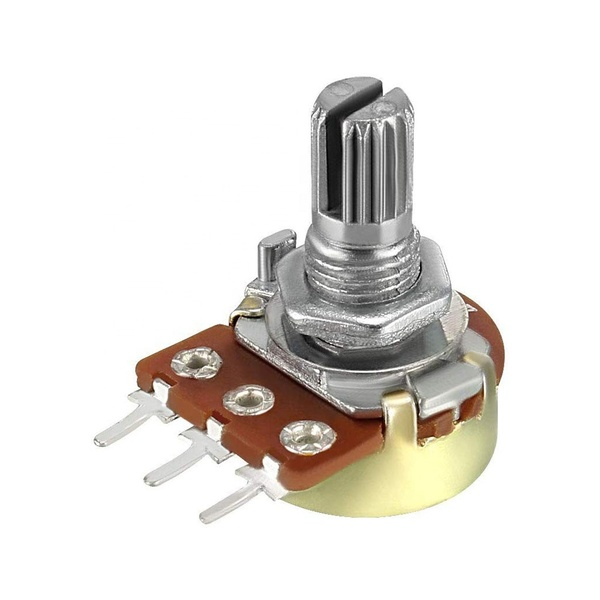
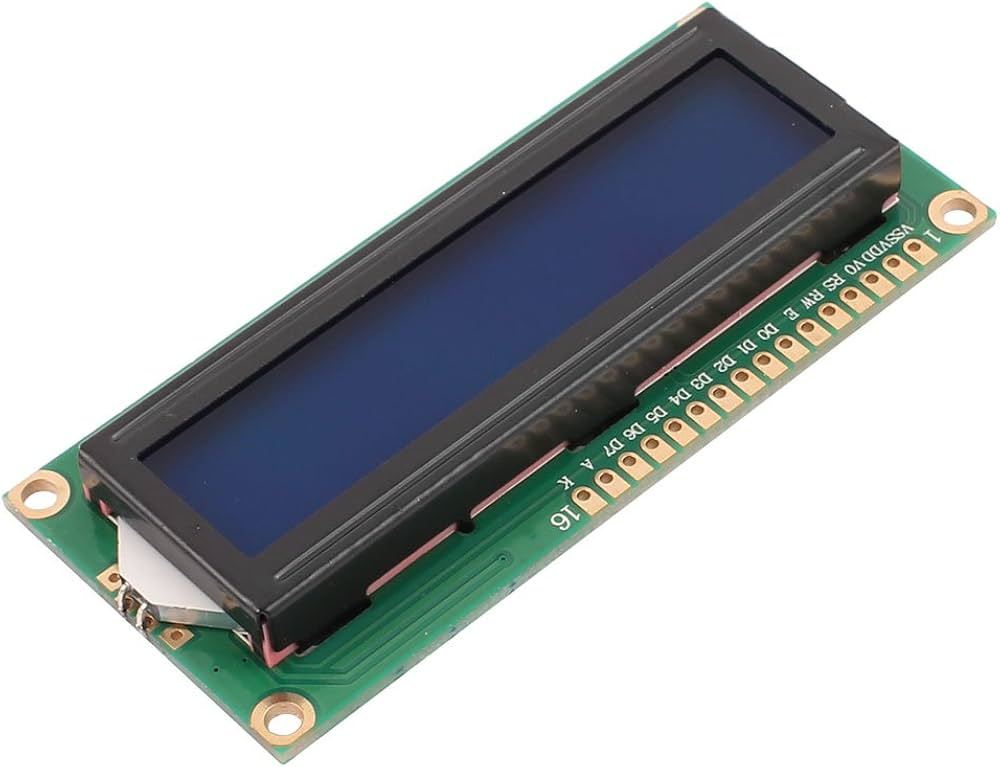
         SG90 servo, 10K potentiometer for LCD contrast, LCD1602 parallel display.

  Wiring for this combined parking-assistant project:
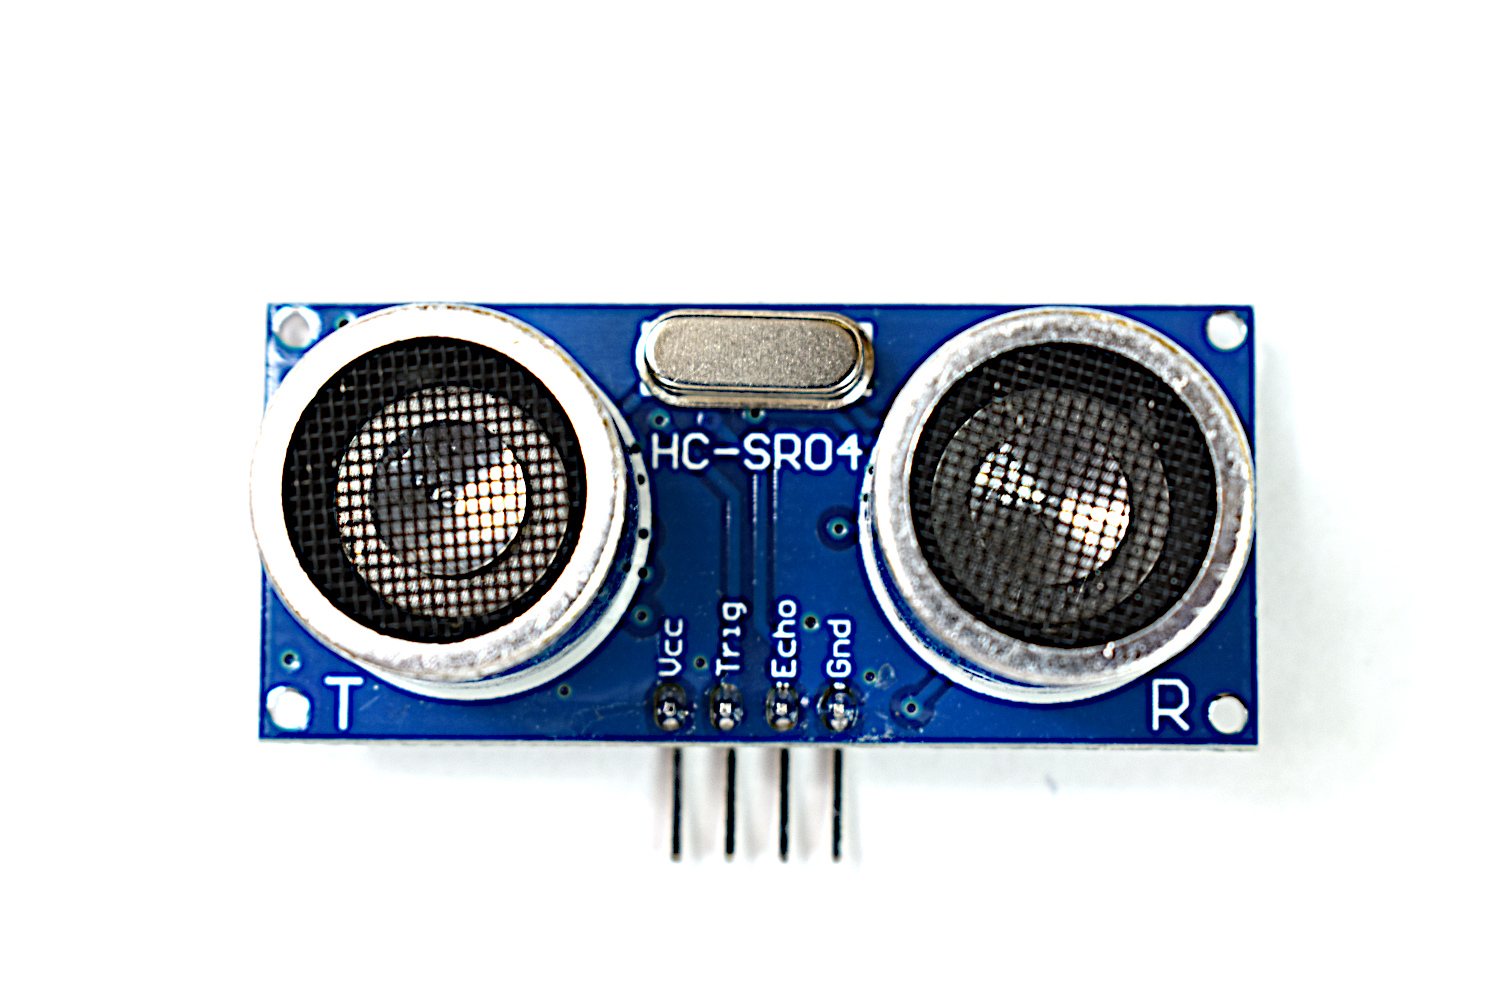
    HC-SR04 TRIG -> D8, ECHO -> D9, VCC -> 5V, GND -> GND
    Buzzer signal -> D6, VCC -> 5V, GND -> GND
    Red LED -> D2 through resistor to GND
    Yellow LED -> D3 through resistor to GND
    Green LED -> D4 through resistor to GND
    Servo signal -> D5, VCC -> 5V, GND -> GND
    LCD1602 parallel: RS D12, E D11, D4 D10, D5 D7, D6 A1, D7 A2
    LCD contrast: 10K potentiometer wiper to VO, side pins to 5V and GND
*/

#include <Servo.h>
#include <LiquidCrystal.h>

const int RED_LED = 2;
const int YELLOW_LED = 3;
const int GREEN_LED = 4;
const int SERVO_PIN = 5;
const int BUZZER_PIN = 6;
const int TRIG_PIN = 8;
const int ECHO_PIN = 9;

LiquidCrystal lcd(12, 11, 10, 7, A1, A2);
Servo gateServo;

long readDistanceCm() {
  digitalWrite(TRIG_PIN, LOW);
  delayMicroseconds(2);
  digitalWrite(TRIG_PIN, HIGH);
  delayMicroseconds(10);
  digitalWrite(TRIG_PIN, LOW);

  long duration = pulseIn(ECHO_PIN, HIGH, 30000);
  if (duration == 0) return -1;
  return duration / 58;
}

void setStatusLights(long distanceCm) {
  digitalWrite(RED_LED, distanceCm > 0 && distanceCm < 10);
  digitalWrite(YELLOW_LED, distanceCm >= 10 && distanceCm < 25);
  digitalWrite(GREEN_LED, distanceCm >= 25 || distanceCm < 0);
}

int servoAngleForDistance(long distanceCm) {
  if (distanceCm < 0) return 90;
  distanceCm = constrain(distanceCm, 5, 50);
  return map(distanceCm, 5, 50, 170, 20);
}

void setup() {
  pinMode(RED_LED, OUTPUT);
  pinMode(YELLOW_LED, OUTPUT);
  pinMode(GREEN_LED, OUTPUT);
  pinMode(BUZZER_PIN, OUTPUT);
  pinMode(TRIG_PIN, OUTPUT);
  pinMode(ECHO_PIN, INPUT);

  gateServo.attach(SERVO_PIN);
  lcd.begin(16, 2);
  lcd.print("UNO Starter Kit");
  delay(1000);
  lcd.clear();
}

void loop() {
  long distanceCm = readDistanceCm();
  int servoAngle = servoAngleForDistance(distanceCm);

  gateServo.write(servoAngle);
  setStatusLights(distanceCm);

  bool closeAlert = distanceCm > 0 && distanceCm < 10;
  digitalWrite(BUZZER_PIN, closeAlert ? HIGH : LOW);

  lcd.setCursor(0, 0);
  lcd.print("Dist:");
  if (distanceCm < 0) {
    lcd.print("-- cm   ");
  } else {
    lcd.print(distanceCm);
    lcd.print(" cm   ");
  }

  lcd.setCursor(0, 1);
  lcd.print("Servo:");
  lcd.print(servoAngle);
  lcd.print(" deg   ");

  delay(200);
}